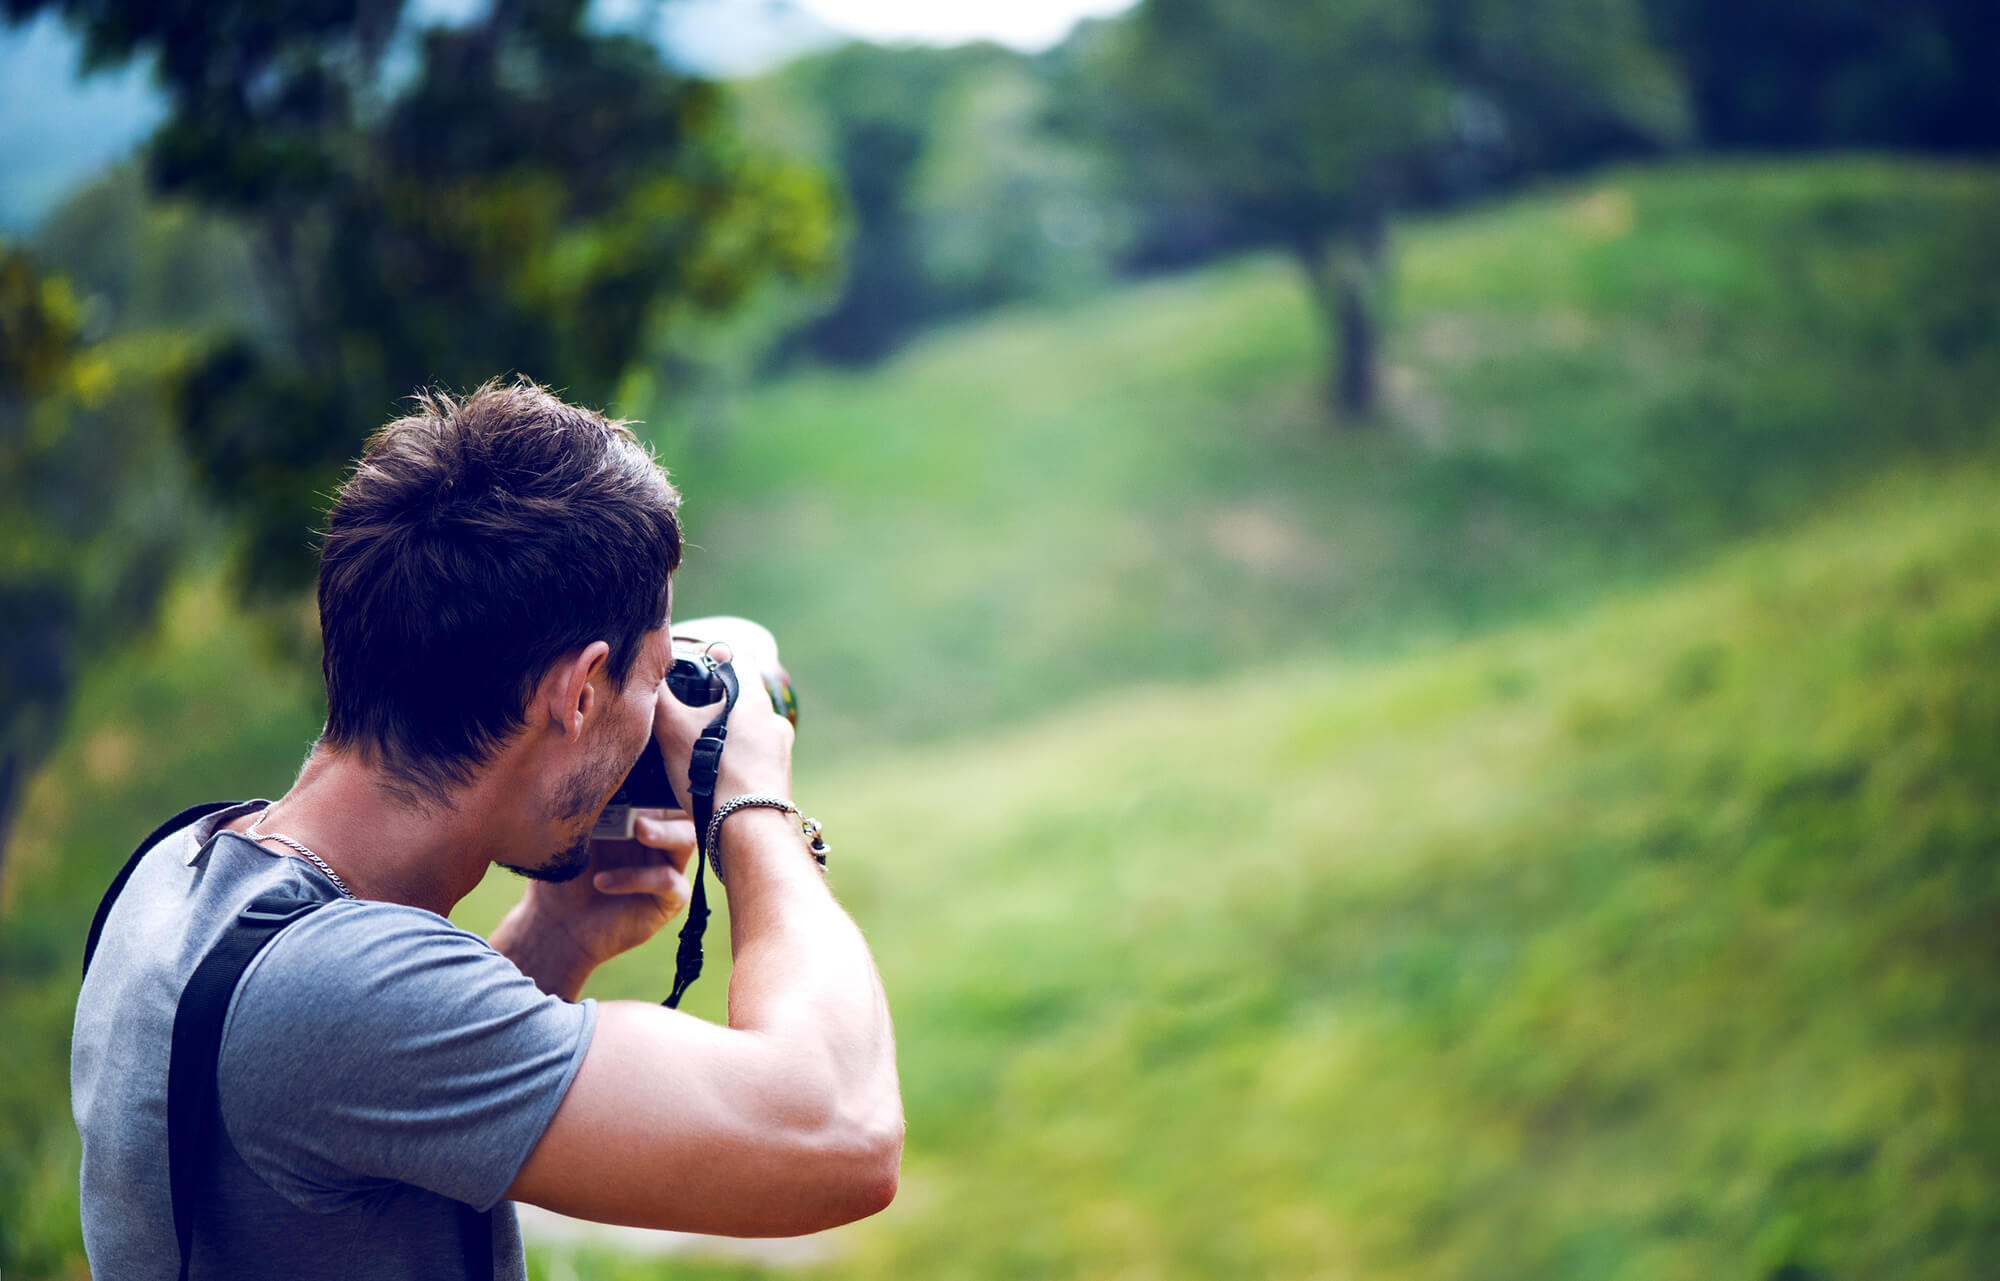
Do you want to learn how to take professional photos? Here are some professional photography tips that will show you how to make your pictures look more polished.
To inexperienced photographers, taking a great photo can seem simple: just point and shoot. But anyone who’s tried to learn how to take professional photos knows that there’s a lot more to it than that.
From choosing the right subject and setting up a cool composition to finding the best light, it takes a lot of consideration to capture a great photo.
If you want to take your photography to the next level, here are some tips to help you learn how to take good pictures. Once you get a hang of these basic pro techniques, it should vastly improve your results.
The best part about knowing how to take professional photos? It leads to new opportunities. The more professional-looking photos you’ll be able to produce, the better your online photography portfolio will look. And the better your online photography portfolio looks, the more photography jobs you will land.
Taking professional-looking photos may seem daunting for beginners, but with some practice and the right techniques, anyone can learn how to take pro-level shots.
In this complete guide, we’ll cover everything you need to know to go from amateur to pro, including essential photography skills, gear, settings, composition tips, and more. With these professional photography tips, you’ll be snapping magazine-worthy shots in no time.
The Key Skills Every Professional Photographer Needs
While high-end equipment certainly helps you can take professional photos with even basic cameras if you understand the core skills required
Mastering Camera Settings
Learning manual camera settings is crucial for controlling exposure, aperture, shutter speed, ISO, and more. This allows you to achieve your desired look instead of relying on your camera’s automatic (and often inaccurate) defaults.
Composing Quality Shots
Professional photos utilize composition techniques like the rule of thirds, leading lines, framing, and depth. Placement of elements in the frame impacts the overall look and feel dramatically.
Lighting Technique
Photography is all about light You must learn to manipulate natural light through angles and diffusion, Off-camera flashes allow even more control for stunning results,
Post-Processing Images
Few shots are portfolio-worthy straight out of the camera. Post-processing allows you to color correct, selectively sharpen, remove distractions, and finesse your images to a polished finish.
Gear You Need for Professional Photography
While beginners can start with entry-level gear, upgrading your equipment allows for more creativity and consistency:
-
DSLR or mirrorless camera: These allow manual settings and interchangeable lenses for versatility. Some good starter options are the Canon Rebel T8i or the Sony A6100.
-
Lenses Start with an 18-55mm kit lens then add a nifty fifty (50mm for portraits), wide angle, and telephoto zoom as budget allows
-
Tripod: Eliminates blur from camera shake, especially useful for night photography and long exposures. Look for one that’s sturdy yet portable.
-
Off-camera flash: Built-in flashes create harsh shadows and uneven lighting. An external flash like Godox TT600 provides controllable directional light.
-
Other accessories: Reflectors, remote triggers, ND filters, and diffusers help maximize image quality.
Camera Settings for Quality Photos
Understanding exposure settings allows you to manually control your images’ look:
-
Aperture – Adjust to control depth of field. Wider apertures (smaller f-stops) create blurred backgrounds.
-
Shutter speed – Freeze motion with fast speeds (1/500+) or create motion blur with long exposures.
-
ISO – Increase to brighten images in low light, but higher ISOs create noisy results.
-
White balance – Correct for different lighting temperatures to achieve natural looking color.
Practice shooting in Manual mode and Priority modes (Aperture/Shutter) to gain confidence.
Composition Tips for Stunning Photos
Applying compositional techniques elevates your images from snapshots to photographic art:
-
Rule of thirds – Place subjects on intersection points or along lines that divide the frame into thirds.
-
Leading lines – Utilize natural lines in scenes to draw the viewer’s eye into the image.
-
Framing – Frame the main subject with elements in the foreground for enhanced depth.
-
Patterns and symmetry – Repetition of elements intrigues the eye while asymmetry adds dynamism.
-
Viewpoint – Consider both high and low angles for more impact versus straight-on shots.
Take time to thoughtfully compose. Subtle changes make a big difference!
Mastering Light for Better Photos
Light is the essence of photography. Learn to leverage both natural light and artificial lighting sources:
Natural Light
-
Shoot at golden hour (early morning/late afternoon) for glowing light and long shadows.
-
Turn your subject to utilize flattering side lighting. Avoid direct overhead light which is unflattering.
-
Diffuse harsh sunlight by bouncing it off reflectors or diffusers.
-
Backlight subjects for rim lighting or shoot silhouettes for dramatic effects.
Artificial Light
-
Bounce flash off ceilings or walls for soft, even lighting rather than direct.
-
Position off-camera flashes at angles for dimension versus flat on-camera flash.
-
Add fill lights to selectively boost illumination on shadowed areas.
-
Use coloured gels on strobes to completely transform lighting mood.
Post-Processing Tips for Polished Images
Editing fine-tunes your images so they look their absolute best:
-
Perform lossless RAW editing for maximum flexibility versus JPEGs.
-
Correct colour casts and adjust temperature/tint for accurate white balance.
-
Carefully enhance contrast and shadows/highlights for added depth.
-
Minimize noise and selectively sharpen for crisp details without over-sharpening artifacts.
-
Remove distractions by cloning out objects or using healing tools.
-
Finish with slight vignette and crop for improved composition.
Advanced techniques like HDR, panoramas, and focus stacking provide even more creative options.
How to Improve Your Photography Over Time
Becoming a professional photographer requires practice and perpetual learning:
-
Study photography resources including online tutorials, magazines, and courses.
-
Critically examine the work of masters; identify techniques you can incorporate.
-
Shoot often and challenge yourself to grow skills, for example, trying new genres.
-
Invest in quality gear as budget allows over time.
-
Participate in photography communities to exchange tips with other enthusiasts.
-
Promote your best images on photography websites and social media to gain valuable feedback.
While learning professional photography may feel overwhelming initially, have patience with yourself. With regular practice and dedication to your craft, you will see steady improvement in the quality of your images.
Stay inspired by the joy of creating beautiful photographs that capture fleeting moments in unique ways. With these pro tips, you’re well on your way!
Make Sure You Have Good Lighting
Making sure your shots are properly lit is an essential part of how to make your pictures look professional, and it’s something that inexperienced photographers often overlook. The first step is making sure you have enough light that your subject is visible. If there’s not enough light, your camera may struggle to capture the details in the scene.
If you happen to be shooting with your camera on automatic settings (which is not how to take professional photos, but more on that later!), it will use a high ISO setting or extra-long exposure, and you’ll probably end up with grainy or blurry results. And, if you try to brighten things up in Photoshop, you may find you have to make massive adjustments, which also results in a low-quality .
On the other hand, if there’s too much hard light in your shots, it can ruin your photo with unwanted shadows. So spend some time carefully picking your location and the angle you shoot from to ensure there’s enough light in the scene. Another way to deal with this problem is by using lighting equipment.
Follow The Rule of Thirds
Instead of positioning the focal point in the center of your shot, it can make for a more interesting composition if you follow the rule of thirds. This rule states that you should place the most important elements in your photos off center.
Imagine there’s a tic-tac-toe grid in front of your shot. That means two lines divide your frame into thirds vertically, and two lines divide it into thirds horizontally. You should place the subject and other important elements in your shot along these lines or at one of the four points where they intersect.
It’s one of the easiest ways to learn how to take professional photos. Instead of having all your portraits look like mugshots, this guideline can help you find a better balance between the main subject and background.
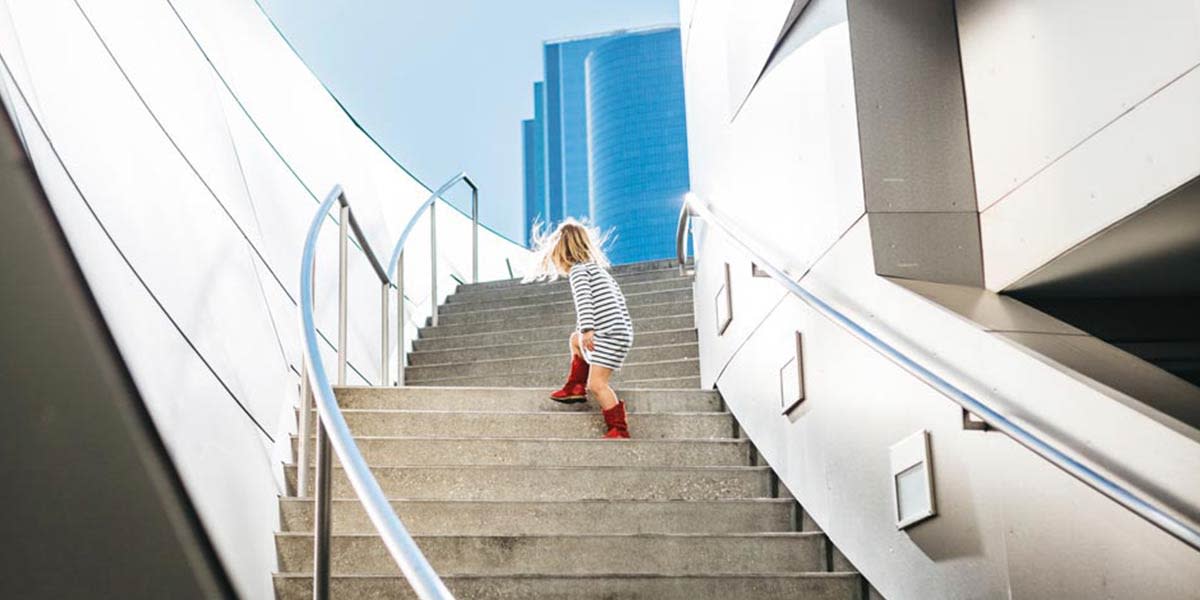
Leading lines are line shapes in your shot that can help guide a viewer’s eyes to the focal point. They can be anything that creates a line in your photo, like roads, fences, buildings, long hallways, trees, or shadows.
The trick is using them take a viewer’s attention where you want it to go. That can include drawing their eyes straight to your subject, or leading them on a kind of visual journey through your composition.
The direction of your leading lines can also change the mood of your compositions. For example, vertical leading lines can convey a powerful, imposing mood, while horizontal leading lines tend to be associated with calm and tranquility. For more information on why this technique can help with taking professional photos, check out this guide on how to use leading lines in your photography.
Simple Product Photography for Amazon Products | Jungle Scout
How do I take a professional photo?
To take professional photos, it’s important to fully understand all of the factors involved, from the lighting and framing to the settings on your camera. In this article, we discuss the value of a professional photograph, explain how to take a professional photo and offer tips to improve your photography skills.
Do you know how to take professional photos?
People who are experienced in taking professional pictures make it look easy, but this is a skill you need to practice and hone if you want the best results. To take professional photos, it’s important to fully understand all of the factors involved, from the lighting and framing to the settings on your camera.
How to take better professional photographs?
Here are some tips for taking better professional photographs: 1. Choose the subject In photography, the person, thing or object that the photographer wishes to highlight is the subject. This might be a one-of-a-kind item or something that stands out from its surroundings.
How to shoot professional photos?
With enough practice and patience, you’ll be able to emulate the look of professional photos in no time. Shoot indoors for a standard headshot with a basic background. If you’re shooting professional photos for personal use, like for social media, choose any backdrop that you think will be interesting.
