Hi. I discovered a short cut to remove blank rows in a sheet by using CTRL G (goto), special, blanks and then CTRL minus. Unfortunately although it selects the blanks, the CTRL minus deletes more than the blank rows, and most of the sheet information. Any suggestions would be appreciated.
I often work with extracted data and/or sort sheets and there are times where I would like to make use of the function..
Depends on how ranges are selected above could not be shown and the default action is performed. If entire row is selected, when row is deleted. If parts of rows are selected, when depends on which data is around and what is selected it could remove selected cells and shift the rest left or up.
You may try to do the same from the ribbon Insert or delete rows and columns – Microsoft Support
Dealing with blank rows in Excel can be a pain. As your data grows, blank rows start popping up and create gaps in your nice, neat spreadsheet.
Luckily, removing blank rows in Excel is super easy. In this guide, I’ll show you several quick and easy ways to delete blank rows in Excel.
By the end of this article, you’ll be an expert at removing blank rows in Excel with just a few clicks!
Why Remove Blank Rows in Excel?
Before we dive in let’s first go over why you may want to remove blank rows in Excel
-
Makes your data look neater and more organized. Blank rows create unsightly gaps in your data.
-
Removes unused spaces Blank rows take up room and make your spreadsheet larger
-
Improves performance. Too many blank rows can slow down Excel.
-
Cleans up your data for analysis. Blank rows can distort graphs and calculations.
Removing blank rows will make your spreadsheet look tidy, run faster, and improve your analysis. Let’s look at how to do it!
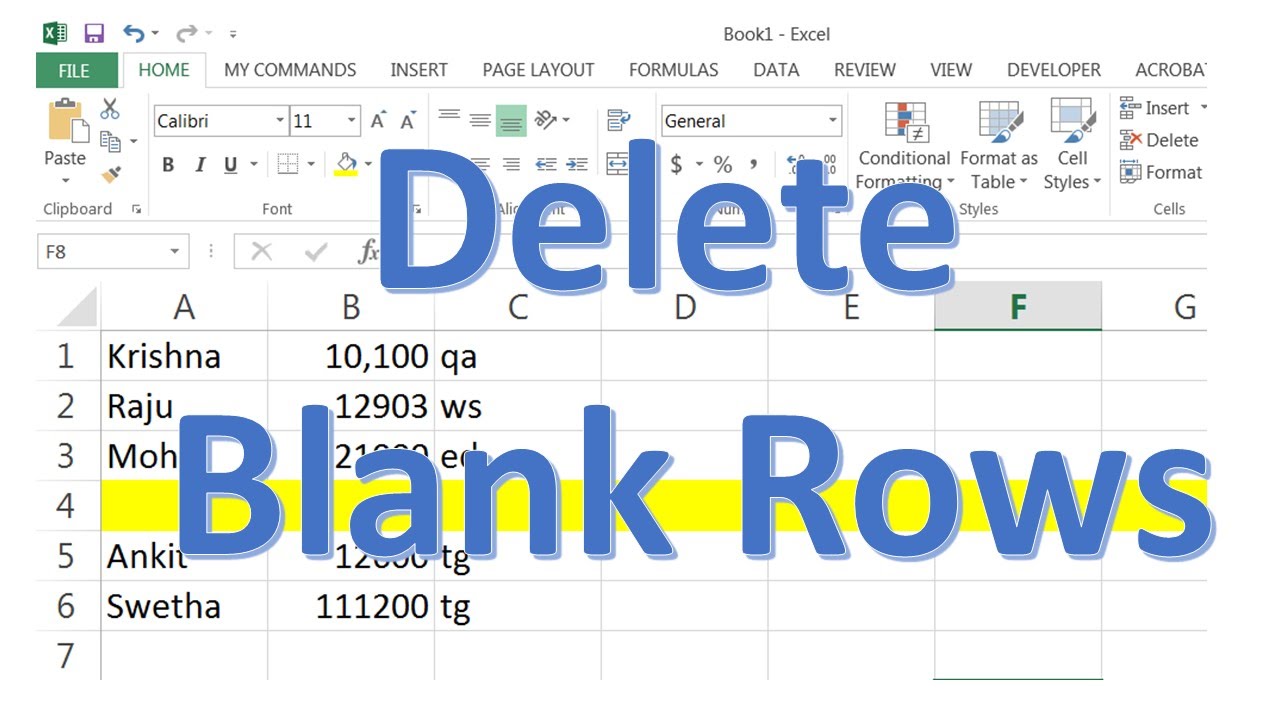
Method 1: Remove All Blank Rows Automatically
The fastest way to remove blank rows in Excel is to use the built-in “Go To Special” tool This will automatically find and delete all completely blank rows in one go
Here are the steps:
-
Select your entire dataset. This includes the columns and rows with your actual data.
-
Go to the Home tab and click “Find & Select” then click “Go To Special”.
-
In the Go To Special window, select “Blanks” and click OK. This will select all completely blank rows.
-
On the Home tab, click the Delete drop-down menu and choose “Delete Sheet Rows”.
And done! Excel will automatically remove all the fully blank rows in your data.
This method is super fast and easy. However, it will only remove rows that are completely empty. If you have rows with some data but also blank cells, read on for other methods.
Method 2: Manually Select and Delete Blank Rows
You can also manually select and delete blank rows one by one. This gives you more control to delete specific rows.
Follow these steps:
-
Click on the row number to the left of the blank row you want to delete. This will highlight the entire row.
-
To select multiple rows, hold Ctrl (Windows) or Command (Mac) and click the row numbers.
-
Right-click on the selected row(s) and choose Delete.
-
The selected blank rows will be removed.
While manual, this method lets you remove specific blank rows instead of deleting all blanks at once.
Method 3: Filter to View and Delete Blanks
Another great way is to use Excel’s Filter function. This lets you view and delete only the blank rows.
Follow these steps:
-
Select your data set and click the Filter button on the Data tab.
-
Click the filter drop-down arrow for one of the columns and uncheck “Select All”.
-
Check the box for “Blanks”. This will show only the rows with blank cells in that column.
-
Repeat steps 2-3 for other columns. Only blank rows will remain visible.
-
Select and delete the visible blank rows.
-
Turn off the filter to view all your data again.
The filter method gives you a sneak peek at the blank rows before deleting them. You can even use advanced filters for more complex blank row removal.
Method 4: Use the TRIM Function
Here’s a bonus method using Excel formulas!
The TRIM function removes all extra spaces and blanks from text. You can use it to delete blank rows:
-
Insert a new helper column in your data.
-
In the helper column, use the formula
=TRIM(A1)where A1 contains your first data cell. -
Copy the formula down the entire helper column.
-
Copy and paste the helper column over your original data.
The TRIM formula will remove any blank rows and consolidate your data!
Top Tips for Removing Blank Rows in Excel
Here are some useful tips to master blank row removal in Excel:
-
Double-check for hidden, filtered rows before deleting blanks. This prevents accidentally removing data.
-
Be careful when deleting entire rows. Sort your data first if needed to keep things in the right order.
-
If you just want to hide blanks temporarily, hide the rows instead of deleting them.
-
Use Go To Special > Blanks to quickly select all blank cells, not just rows.
-
Add conditional formatting rules to highlight blank cells/rows for easy identification.
And that’s everything you need to know about removing those pesky blank rows in Excel! With this guide, you have all the tools to keep your spreadsheets neat and tidy.
Deleting blank rows will make your Excel data look professional, analyze better, and ultimately save you time. So try out these quick methods next time blank rows creep in. Become a pro at wiping out blank rows in Excel!
Frequency of Entities:
remove blank rows in excel: 5
excel: 29
rows: 24
blank: 22
data: 10
method: 6
filter: 4
trim: 3
delete: 16
go to special: 3
helper column: 2
Related Discussions View all
by Kenneth Green on May 17, 2024
by Chris525 on May 07, 2024
by Riley_Johnson on April 13, 2024
How to Delete Blank Rows in Excel
How to remove blank rows in Excel?
Choosing the right method to remove blank rows in Excel is crucial – a wrong move can lead to lost data. Method 1: Remove all rows that contain only blank cells Method 2: Remove all rows that contain one or more blank cells Method 3: Remove a few rows (quick method)
How to delete blank cells in Excel?
Alternatively, you can click the Home tab in the Ribbon and then select Go To Special from the Find & Select drop-down menu. Select Blanks in the Go to Special dialog box and click OK. Excel will select all of the blank cells within the selected range. Right-click one of the selected blank cells and select Delete.
How to delete non contiguous rows in Excel?
To select non-contiguous rows, click the heading of the first row and then Ctrl-click the headings of the other rows you want to select. Right-click one of the row headings. A drop-down menu appears. Select Delete. 2. Delete blank rows using a keyboard shortcut To delete multiple contiguous blank rows using a keyboard shortcut:
How do I remove empty rows in Excel?
Click on any cell in your table. Go to the Ablebits Tools tab > Transform group. Click Delete Blanks > Empty Rows. Click OK to confirm that you really want to remove empty rows. That’s it! Just a few clicks and you’ve got a clean table, all empty rows are gone and the rows order is not distorted!
