Working with Excel spreadsheets often means dealing with tons of data. As you input information, make updates delete rows, and add new columns, your worksheet can easily become cluttered. Clearing cells in Excel is a handy way to tidy up your spreadsheet by removing contents, formats comments, and other elements from selected cells.
Mastering cell clearing can save you ton of time and simplify your Excel workflow. In this comprehensive guide, I’ll walk through the various ways to clear cells in Excel using simple shortcuts and commands. By the end, you’ll be clearing cells like a pro!
Why Clear Cells in Excel?
Here are some of the top reasons you may want to clear cells in an Excel spreadsheet:
-
Remove outdated data – Clearing cells allows you to quickly delete old data that is no longer needed. This declutters your sheet.
-
Erase mistakes – We all make typos and input incorrect data. Clearing cells provides an easy way to wipe out entry errors.
-
Reset formatting – Clearing formats resets cells so you can reapply a uniform style. This gives your sheet a consistent look.
-
Delete sensitive data – Before sharing a spreadsheet, you can clear cells containing private information. This protects sensitive data.
-
Improve performance – Large, cluttered sheets with unnecessary data can slow Excel down Clearing cells can optimize performance
-
Apply conditional formatting – Clearing existing formats allows you to apply new conditional formatting rules uniformly.
-
Prepare data for analysis – Clearing blanks, errors, and clutter provides a clean slate for data analysis.
As you can see, judiciously clearing Excel cells can save time, fix mistakes, delete old data, improve formatting, and prep your worksheet for analysis. Let’s look at how to do it.
Clear a Single Cell
Clearing a single cell in Excel is quick and easy. Here are two ways to do it:
-
Delete key – Select the cell you want to clear and press the Delete key. This removes the cell contents but no formatting.
-
Clear command – With the cell selected, click the Clear command (the eraser icon) on the Home tab and choose Clear Contents.
The Clear Contents command erases the data in the cell but leaves the formatting, comments, and other cell elements intact.
Clear Multiple Cells at Once
To clear a group of cells at the same time:
- Select the range of cells you want to clear.
- Press the Delete key.
- Or use the Clear > Clear Contents command.
This will wipe out the contents of all selected cells in one click while preserving cell formats, comments, and other details.
Clear All Cell Content
The Clear All command takes cell clearing one step further. It erases the entire contents of the selected cells along with all formatting.
Follow these steps:
- Select the cells you want to completely clear.
- On the Home tab, open the Clear menu.
- Choose the Clear All option.
This will delete cell contents, formatting, colors, borders, conditional formatting, and comments in one fell swoop. The cells will be completely reset.
Keyboard Shortcut to Clear All
To quickly clear all selected cells using just your keyboard:
- Select the target cells.
- Press Ctrl+A to select the entire worksheet.
- Press Delete.
This keyboard shortcut erases all contents and formatting in the selected cells.
Clear Cell Formatting
If you just want to strip formatting while leaving the contents intact, use the Clear Formats command:
- Select the cells to clear formatting from.
- On the Home tab, open the Clear menu.
- Choose Clear Formats.
This will remove just the formatting like colors, borders, font styles, while preserving the data, comments, and other cell elements.
Clear Cell Comments
Worksheets often contain explanatory comments attached to cells. To selectively delete just the comment from a cell:
- Right-click the cell with the comment.
- Select Delete Comment from the menu.
The keyboard shortcut Ctrl+Shift+O will remove comments from all selected cells.
Clear Hyperlinks
To quickly delete any hyperlinks applied to cells:
- Select the cells with hyperlinks.
- On the Home tab, open the Clear menu.
- Choose Clear Hyperlinks.
This removes only the hyperlink formatting while the text remains.
Clear Validation Rules
Data validation rules limit data entry for selected cells. To delete validation rules:
- Select the cells with data validation applied.
- On the Data tab, click the Data Validation button.
- Choose Clear All.
This removes the validation rules while keeping cell contents intact.
Clear Cells to Delete Data
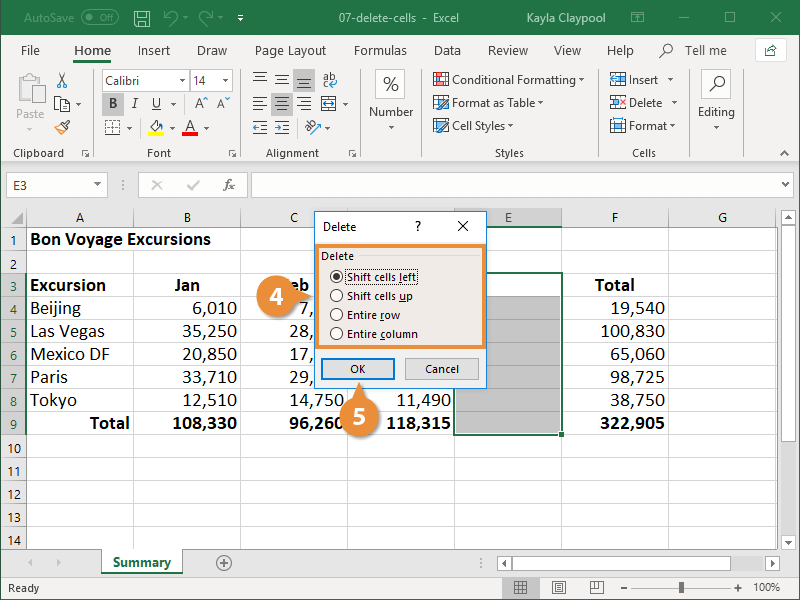
In addition to clearing cells, you can permanently delete data by removing entire rows or columns.
To delete a row or column:
- Select the row or column number to highlight the entire row/column.
- Right-click and choose Delete from the menu.
This will completely remove the selected row or column, shifting remaining data up or left to fill the gap.
Clear Cells Using Go To Special
Excel’s Go To Special dialog box lets you select and clear specific types of cells:
- On the Home tab, open the Find & Select menu.
- Choose Go To Special.
- In the Go To Special dialog, check the boxes for cell types to select.
- Click OK to select those cells.
- Press Delete to clear the selected cell types.
For example, choose Constants to quickly select and clear all numeric cells.
Clear Cells of Errors
Errors like #DIV/0!, #REF!, and #NAME? can sneak into your formulas. To quickly clear formula errors:
- With the worksheet selected, press Ctrl+[ to select all cells with errors.
- Press Delete to clear the errors.
This will remove just the error values, leaving all other cell content intact.
Clear Duplicate Rows
If your data contains duplicate rows:
- On the Data tab, open the Data Tools group.
- Click Remove Duplicates.
- Check the box for Selected column.
- Click OK.
This will delete any 100% duplicate rows, neatly cleansing your dataset.
Macro to Clear Contents
For frequent clearing tasks, you can automate clearing cells with a macro:
- On the Developer tab, open the Visual Basic editor.
- In the Project window, right-click and insert a new module.
- Enter this VBA macro code:
Sub ClearCells() Range("A1:D10").ClearContents End Sub- Close VB editor and run the macro to instantly clear the sample range of cells.
You can modify the code to clear entire rows, columns, or sheets as needed.
Undo Cell Clearing
Made a mistake and cleared the wrong cells? Instantly undo it:
- Press Ctrl+Z to undo the last action.
- Or click the Undo button on the Quick Access toolbar.
Repeat to undo multiple actions.
Clear Cells Like a Pro
With this deep dive into the various ways to clear cells in Excel, you’ve got all the skills needed to delete contents, erase formats, clear comments, remove hyperlinks, delete rows and columns, and more.
Here are some top tips to recap:
-
Use the Delete key to quickly clear a single cell’s contents.
-
Select cells and press Ctrl+A followed by Delete to clear all contents and formatting.
-
Leverage Go To Special to select and clear specific cell types.
-
The Clear All command erases everything in the cell. Clear Contents leaves formatting intact.
-
Remove duplicate rows to clean up data for analysis.
-
Record a macro to automate repetitive cell clearing tasks.
By mastering these time-saving cell clearing methods, you can keep your Excel worksheets tidy, eliminate errors, wipe sensitive data, reset formatting, remove duplication, and optimize Excel performance.
So say goodbye to cluttered spreadsheets and embrace cell clearing as part of your regular Excel workflow. With this guide, you’ve got the confidence to clear cells swiftly and easily – every time!
2 Answers 2 Sorted by:
First select all the cells to delete. Then keep pressing Backspace/Delete to delete contents of first cell and then Control+Return/Enter.
The action youre looking for is clear contents. You can see that if you right-click on a region of multiply selected cells. Fn-Delete does it on my Macbook Pro running Excel in a Windows VM.
How to Clear Multiple Cells in Excel Without Clearing the Formulas : Microsoft Office Tips
FAQ
What is the shortcut for clear contents in Excel?
|
|
|
|
Clear cell data
|
Delete
|
|
Clear cell formats
|
Alt h e f
|
|
Clear cell comments
|
Alt h e m
|
|
Clear all (data, formats, comments)
|
Alt h e a
|
How do I clear cells in Excel?
You can clear cells to remove the cell contents (formulas and data), formats (including number formats, conditional formats, and borders), and any attached comments. The cleared cells remain as blank or unformatted cells on the worksheet. Select the cells, rows, or columns that you want to clear.
How to clear the content from a formula in Excel?
Below are the steps to clear the content from these cells while leaving the formulas untouched: Press the F5 key. This will open the ‘Go-To’ dialog box Click on the ‘Special’ button. This will open the ‘Go-To Special’ dialog box. Click OK. The above steps would select only those cells that have values in it.
How to remove percentage in Excel?
Apply Number Formatting for Removing Percentage in Excel 3. Utilize Format Cells to Omit Percentage Without Changing Values 4. Multiply Specific Number for Removing Percentage Symbol 5. Remove Percentage with Excel Paste Special Feature 6. Use Excel Formula to Take Off Percentage in Excel 7.
