Printing documents is one of the most common tasks in Microsoft Word. Despite being a basic function, there are multiple settings and options that allow you to customize your print jobs.
In this comprehensive guide, we’ll explore the ins and outs of printing from Word on both Windows and Mac. Whether you want quick prints or finely tuned multi-page printouts, read on to become a Microsoft Word printing expert.
Print Preview – A Must Before Printing
Before printing any large Word document, it’s critical to use the Print Preview feature. Print Preview shows you exactly how the pages will look when printed. This helps avoid wasted prints and paper if something doesn’t look right.
To preview pages before printing in Word:
-
Go to the File tab and click Print. Or use the keyboard shortcut Ctrl/Command + P
-
The Print view will open. Click on the thumbnail pages on the left to preview different pages.
-
Use the Zoom slider at the bottom to enlarge the pages for close inspection.
-
Once satisfied, click the Print button to proceed.
Basic Printing – Quick Prints from Word
For quick printing of Word documents with default settings:
On Windows:
-
Click the File tab and select Print, or use Ctrl + P.
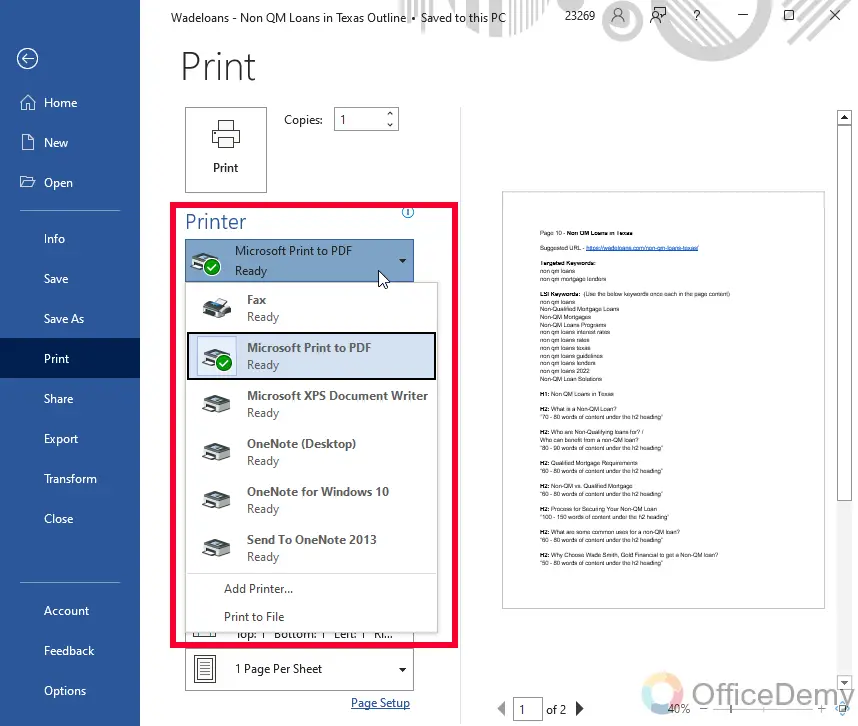
-
Choose the printer you want to use under Printer.
-
Click Print.
On Mac:
-
Go to File > Print or press Command + P.
-
Select the printer.
-
Change the number of copies if needed.
-
Click Print.
This will print the entire document with the default print settings. Read on to learn how to customize and refine the printing process further.
Setting the Number of Copies
To print multiple copies of a document:
-
Go to File > Print.
-
Under Copies, enter the number of copies you need.
-
Click Print.
This will print the specified number of copies sequentially. All copies will be collated i.e. page 1, page 2, page 3 etc.
To print uncollated copies i.e. multiple copies of each page together, select Uncollated under Settings.
Print Range Options
Instead of printing a full document, you can choose to print specific pages or page ranges:
-
Go to File > Print.
-
Under Settings, choose from the print range options:
- All Pages – Prints entire document
- Current Page – Prints only the page you’re on
- Selection – Prints selected content only
- Pages – Prints page range entered
- Click Print to apply the selected print range.
Tips
-
To print both a selection and additional pages, choose Selection under Pages and enter the extra pages separated by commas.
-
You can also go to Page Layout tab and click on Print Area > Set Print Area to select pages to print.
Adjusting Page Settings
Under the Page Setup options, you can customize settings like page size, margins, orientation, and page borders:
![Page Setup image][]
Key settings:
- Size – Choose from standard paper sizes or create a custom size
- Margins – Increase/decrease margins as needed
- Orientation – Flip between portrait and landscape modes
- Borders – Add borders around printed pages
Adjust page setup before printing for complete control over page formatting.
Printing Multiple Pages Per Sheet
To save paper, you can print multiple pages on a single printed page:
-
Go to File > Print.
-
Under Settings, change Pages per Sheet to 2, 4, 6, 8, or 16 to print the desired number of pages per sheet.
-
Under Pages Order, pick how the pages should be ordered.
-
Click Print.
Word will automatically resize pages to fit the defined layout per sheet.
Printing Double-Sided
To enable duplex printing i.e. printing on both sides of the paper:
-
Go to File > Print.
-
Under Settings, choose Duplex Printing.
-
Select either Flip pages on long edge or Flip pages on short edge, depending on your binding preferences.
-
Click Print.
Ensure your printer supports automatic duplex printing before using this option.
Additional Print Settings
Under Printer Properties, you can access more advanced settings for paper quality, watermarks, color options etc. specific to your printer model.
![Additional Settings][]
Look under Orientation, Graphics Quality, Paper Options etc. for customizable settings.
Saving Documents as PDF
To save and share Word documents digitally, click Save As PDF under the Print options. This converts the file to a PDF format while retaining all formatting.
You can also choose from options like Optimize for print quality before converting to PDF.
Troubleshooting Print Failures
If your Word document fails to print, try these troubleshooting tips:
-
Check for paper jams and refill paper in your printer.
-
Restart your printer and computer.
-
Reconnect printer cables firmly at both ends.
-
Update your printer drivers to the latest version.
-
Disable any print spooler services if errors persist.
-
Try printing from another program to isolate the issue.
Quick Printing Recap
-
Use Print Preview to check page layouts before printing.
-
For basic prints, go to File > Print and choose printer.
-
Set page range under Settings to print selections.
-
Adjust page setup options like margins and page size.
-
Change Copies and Pages per Sheet to save paper.
-
Enable duplex printing for double-sided pages.
-
Access advanced printer properties for more options.
-
Save digital PDF copies using Save As PDF.
Key Takeaways
Printing from Word is a breeze once you know how to access the print settings and page setup options. Make use of features like print preview, page ranges, multiple copies, double-sided printing and PDF conversion for professional prints. Follow the troubleshooting tips to fix any print failures.
With this comprehensive guide, you are now a printing pro in Word. Quickly apply your new skills to print documents large and small with optimal settings.
How to Print Documents in Microsoft Word
How do I print a Word document?
Open the folder that contains the Word documents you want to print. Press [Ctrl], and select the files you want to print. (If the files are adjacent, select the first file in the list, press [Shift], and select the last file in the list.) Right-click the selection, and select Print from the shortcut menu.
How do I print on both sides of a document?
In the Manual Duplex area, select Print on Both Sides (Manually). STEP :3. Print the document. STEP :4. After one side has been printed, remove the remaining media from the input tray, and set it aside until after you finish your manual duplexing job. STEP :5.
What type of program is Microsoft Word?
You may be wondering: what type of program is Microsoft Word? A good definition is that it’s a word processor. That’s an application you use to “process”— format, manipulate, save, print, share — a text-based document. Microsoft Word is arguably the most popular word processor on the planet.
