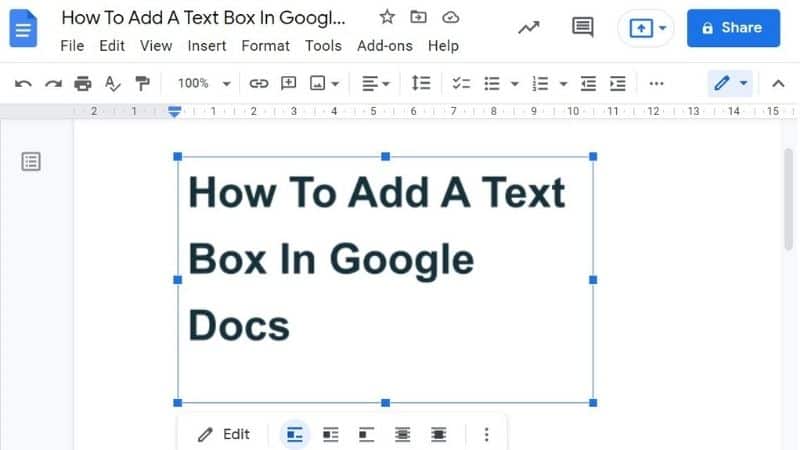
Google Docs is widely popular for many purposes – the no-frills online platform lets you write and edit essays, create applications, take meeting notes and even make to-do lists.
But it doesn’t just have to be plain text. There are features on Google Docs that let you make your paper, resume or flyer stand out. The “text box” and “shape” functions allow users to break up their work with a unique element. You can even customize the “Fill color” of the text box or shape to give your paper a distinct pop.
Google Docs makes it simple to insert text boxes into your documents, providing a handy way to showcase important information. Text boxes allow you to highlight key points by separating them from the main body text.
With just a few clicks, you can add stylish text boxes to catch your readers’ attention Follow these simple steps to insert customizable text boxes in Google Docs
Access the Drawing Toolbar
The first step is accessing the drawing tools. Click the “Insert” menu at the top of your Google Doc. Select “Drawing” from the dropdown options.
This will open the drawing toolbar along the top of your document. The drawing features allow you to add text boxes, shapes, diagrams, and more.
Click the Text Box Icon
In the drawing toolbar, locate the text box icon. It looks like a small square with a letter “A” inside. Click this icon to activate the text box tool.
Your cursor will change to a crosshair symbol. You are now ready to insert a text box.
Click and Drag to Draw the Text Box
Position your cursor where you want the text box located in your document. Click and drag to draw the text box to your desired size.
Feel free to make it any dimension needed – the text box will automatically resize to fit your content. Just be sure to make it big enough for sufficient text.
Release to Insert the Text Box
Once your text box is the size you want, release the mouse button. This will insert the text box into your Google Doc.
A cursor will appear inside the text box, allowing you to start typing your content. The text will dynamically wrap within the boundaries of the shape.
Type Your Desired Text
With your text box inserted, go ahead and type the desired content you want housed inside it.
This could be a pull quote from your document, an informative sidebar, a highlighted definition – get creative with ways to utilize text boxes!
The text box allows you to isolate important text and differentiate it from your body paragraphs.
Resize and Reposition as Needed
If you need to make adjustments, click once on the border of the text box to select it. Resize handles will appear around the edges and corners.
Drag these handles to resize your text box larger or smaller as necessary. You can also move the entire text box by clicking and dragging it to another area of your document.
Customize Formatting and Styles
To change the formatting, select the text box again and use the options on the toolbar. You can alter the:
- Font style and size
- Text color
- Text box fill color
- Border color, width, and style
- Alignment of text within the box
Customize the appearance to match your document formatting. For example, give the text box a colored background to make it pop.
Save and Close the Drawing Tools
When you are finished, simply click “Save and close” in the bottom corner of the drawing toolbar. This will save your text box and close the extra drawing menu.
The text box will remain in your Google Doc just like any other text. You can continue editing normally.
Insert Additional Text Boxes as Needed
To add more text boxes, just repeat the process! Open the drawing toolbar, select the text box tool, click and drag to size it, then type or paste your content.
Utilize text boxes throughout your document to highlight key points, examples, visuals, and more.
Text boxes are an excellent way to break up information and direct your readers’ attention. With Google Docs’ simple drawing tools, anyone can quickly insert polished, professional text boxes.
Highlight paragraphs summarizing key takeaways, pull impactful quotes, or share relevant data in an isolated text box. Whatever your purpose, text boxes help reinforce important information in your documents.
How to insert a text box in Google Docs
Within Google Docs there is a pop-up version of Google Draw that allows you to insert shapes, text boxes and drawings into your document.
Here’s how to add a text box in just a few steps:
- Select “Insert” in the top left menu
- Choose “Drawing”
- Choose the first option, “+ New”
- Once you’re in the separate Draw workspace, hit “Text box,” drag to your desired size and type
- Hit “Save and Close” and watch as the text box appears in the document
Once you insert your text box, it’ll function like an in the document so you can resize or change the angle. You’ll have to double-click on it to re-open the Draw pop-up if you want to edit the inside text.
How to insert a shape in Google Docs
Inserting a shape into your document is a similar process involving the Drawing function. Here’s how to do it:
- Select “Insert” in the top left menu
- Choose “Drawing”
- Choose the first option, “+ New”
- Once you’re in the separate Draw workspace, hit “Shape,” which looks like a circle and square
- Choose your desired shape and drag to size it
- Hit “Save and Close” and the shape will appear in the document
Stay organized and busy: How to share your Google Calendar
