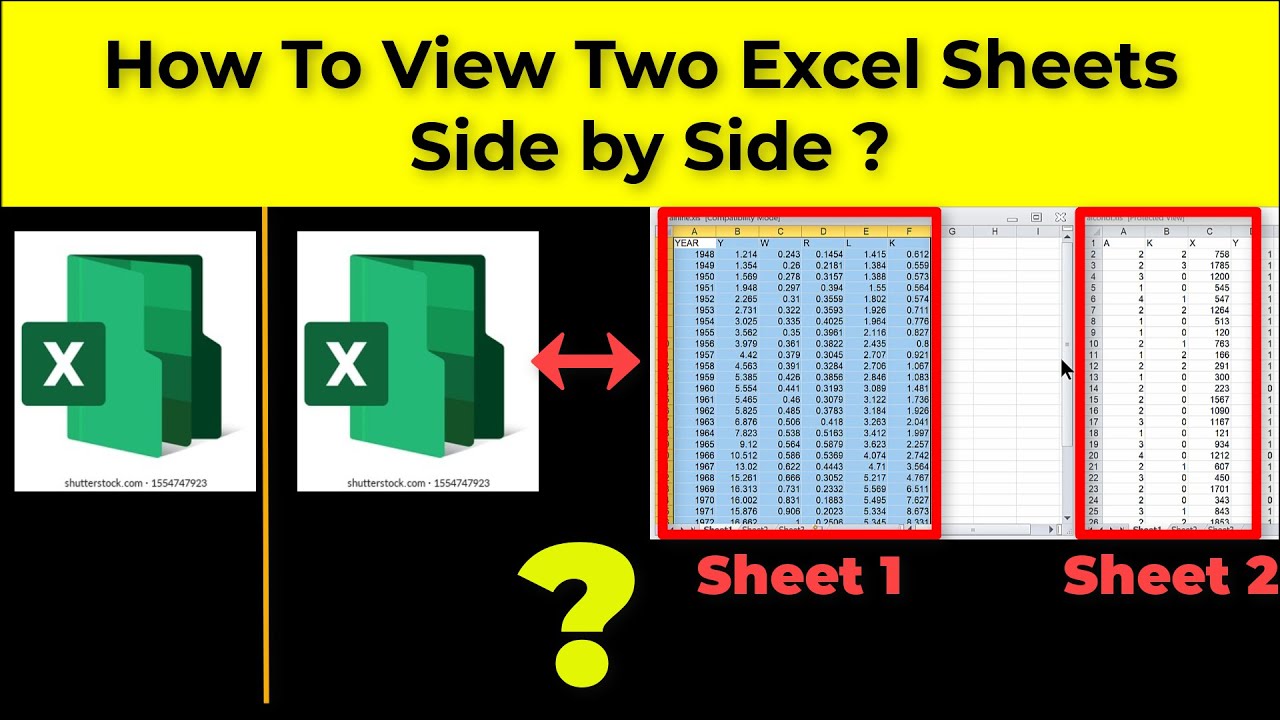
Comparing Excel Files Side-by-Side: The Complete Guide
When analyzing data, it’s often useful to view two Excel worksheets or workbooks simultaneously. Comparing sheets side-by-side allows you to easily spot trends, differences, and relationships between sets of data
Whether you need to cross-reference financial reports, contrast project plans, or double-check employee records, viewing Excel files together saves time versus toggling back and forth.
In this comprehensive tutorial, you’ll learn multiple methods for displaying Excel sheets side-by-side. By the end you’ll have the flexibility to handle any dual-workbook task with ease. Let’s get started exploring the various options for effective Excel side-by-side analysis!
Method 1: Open Two Separate Windows
The most straightforward approach is to open each workbook in its own separate window. This allows you to place both windows side-by-side for easy visual comparison. Here’s how:
-
Open the first Excel workbook you want to view This will display in one window.
-
On the View tab, click New Window in the Window group. This will open a second window displaying the same workbook.
-
Click and drag the title bar of each window to resize and position them side-by-side on your screen.
-
In each window, navigate to the specific worksheet you want to compare.
-
Resize the windows horizontally to allow easy left-to-right eye travel between data points. Adjust column widths identically for easy alignment.
-
Repeat steps 2-4 to add additional workbook windows if needed. You can open as many windows as you like!
Tip: Check “Synchronous scrolling” on the View tab to scroll both sheets simultaneously. This synchronizes your place as you move up/down for easy tracking.
The separate window method allows great flexibility. You can tile workbook windows horizontally, vertically, or in a customized grid to compare multiple files. This works for both separate workbooks or separate sheets within the same workbook.
Method 2: View Side-by-Side
A quicker alternative is using Excel’s built-in “View Side-by-Side” mode. This displays two sheets from two workbooks together in one window.
To use this synchronized view:
-
Open both workbooks (Workbook A and Workbook B) that contain the sheets you want to compare.
-
Select the sheet from Workbook A that you want to display on the left.
-
On the View tab, click View Side by Side in the Window group.
-
In the box that appears, use the Browse button to locate and select the sheet from Workbook B that you want to display on the right.
-
Click OK. Excel will now display both sheets together in one window for easy side-by-side analysis.
-
Adjust column widths and row heights identically so data lines up properly between sheets.
This integrated view is perfect for quick side-by-side sheet comparisons. It ensures alignment while keeping data neatly together in one place.
Tip: You can view up to four workbooks together this way! Just continue selecting additional sheets to add more panes.
Method 3: Arrange All Windows
If you have multiple already-open workbook windows, you can use the Arrange All command to organize them in a grid.
For example, with four workbook windows open, here is how to arrange them in a 2×2 grid for easy comparison:
-
Click the first window to make it active.
-
On the View tab, click Arrange All in the Window group.
-
Select 2 rows and 2 columns to create a 2×2 grid.
-
Click OK. Excel will size and position the four open windows into the organized tile arrangement for simultaneous viewing.
-
Navigate to the desired sheet view within each window.
The Arrange All function allows you to instantly organize and align a group of open workbook windows however you like—side-by-side, stacked horizontally, in columns, etc. Play with different grid arrangements to find the best layout for your specific analysis needs.
Method 4: Split the Window
Another option is splitting your screen into resizable panes separated by adjustable split bars. This allows simultaneous multi-sheet viewing entirely within one window.
To split your window:
-
Open one of your workbooks and select the sheet you want to display on the left.
-
Click the Split button on the View tab and select how you want to split the window horizontally or vertically.
-
A movable split bar will appear. Drag it to resize the panes to desired proportions.
-
In the second pane, open the additional workbook and select the sheet you want to display and compare side-by-side.
-
Now your workbook windows are perfectly split for analysis! Adjust the split bars to customize pane sizes as needed.
The benefit of window splitting is it prevents toggling between sheets or separate windows. You can view two sheets of data together in one field of vision for optimal side-by-side eyeballing.
Advanced Tip: Split your window more than once to create 4 quadrants for viewing multiple sheets at once!
Method 5: Copy/Paste into One Sheet
An easy workaround is copying the data from one Excel sheet and pasting it into the other.
Here’s how:
-
Open the first workbook and worksheet. Select all the cells you want to copy.
-
Copy the selected cells (CTRL+C or right-click Copy).
-
Open the second workbook and worksheet you want to compare it to.
-
Paste the copied data into an empty section of the sheet (CTRL+V).
-
Position the pasted range of cells adjacent to the original data to create a side-by-side comparison within one sheet.
-
Adjust column widths to match between the two data sets for easy visual alignment.
This allows you to view two data sets together without splitting your window or toggling workbooks. You can instantly see the copied data beside the original. The downside is data alterations sync in just one direction.
Tip: Add borders/background color around the pasted data to visually differentiate the two data sets.
Choose the Best Viewing Method
The technique you choose depends on your specific needs:
-
Separate windows provide the most flexibility for custom arrangements.
-
View Side-by-Side offers dual-sheet viewing in one tidy window.
-
Split panes allow seamless toggling within one window.
-
Copy and paste into one sheet gives side-by-side visibility without toggling workbooks.
In reality, combining methods is often best. For example, use View Side-by-Side to analyze two sheets, while also splitting the window to reference a third. Employ the method that works for each comparison.
With the above skills, you can efficiently reference, cross-check, and contrast Excel data from multiple files. By organizing sheets and windows in creative ways, you can zoom through side-by-side analyses to uncover key relationships and insights faster.
Advanced Tips and Shortcuts
Take your Excel data comparison abilities to the next level with these pro tips:
-
Add colorful Conditional Formatting rules to highlight matching or discrepant cells between sheets. This makes differences instantly obvious.
-
Sync scrolling to auto-scroll both windows/panes in tandem so matching rows stay aligned.
-
Freeze Panes to keep column and row headings locked in place as you scroll.
-
Display sheet tabs side by side for quick toggling between views.
-
Customize zoom level and orientation for each window separately.
-
Use keyboard shortcuts like CTRL+F6 to quickly cycle between open workbook windows.
-
Shorten and widen key columns identically so data lines up properly between views.
-
Adjust colors, fonts, formulas, and formatting to match across sheets for better visual comparison.
-
Open sheet views in new windows then Arrange All to create customized comparison grids.
With a little creativity, you can optimize Excel to display important sheets in perfect tandem for rigorous analysis. Visually cross-referencing data has never been easier.
So next time you need to double check spreadsheets, contrast financials, reconcile records, or make any dual-Excel analysis, use these tips to view files side-by-side. By mastering side-by-side workbook management, you’ll be better equipped to spot trends, anomalies, and relationships that drive smarter business insights.
6 Answers 6 Sorted by:
Im assuming youre extending your desktop onto both monitors?
Once youve done that, make sure Excel is NOT maximized and manually resize the Excel program window using the corner resizing anchors to cover both screens.
Then you can open both spreadsheets and go to View>>View Side by Side.
On Mac: >> Window >> Arrange All >> arrange vertically.
I have the same problem but I found this and it works great!
When you open multiple Microsoft Word documents, you are able to put one on your main monitor and one on your secondary monitor to compare, copy and paste from one document to another. However, if you open multiple spreadsheets from Excel, you cant do the same thing! This has annoyed me since 2007 when Microsoft introduced the functionality in Word but not in Excel.
Well, I found a way around it. Here is how.
- Open your first Excel spreadsheet. Place it on the monitor you wish to work with it.
- DO NOT open the second spreadsheet with the Excel program that is open. Instead, go to your Start Menu and open Excel from there. Then do a File >> Open and open your second spreadsheet.
- Place the second spreadsheet on the monitor you wish to view the spreadsheet.
As far as I can tell, since youre opening a second instance of Excel, you can place it wherever you wish.
Theres a New Window feature in tab View, but it still opens in the same parent window, because Excel is an MDI application. So youll still need to resize the parent window to cover both screens
Update
This seems to be fixed in Excel 2013, which changed to SDI only
A coworker of mine accomplished this by using a piece of software called UltraMon. Instead of dragging the Excel application window across both desktops (which I agree, is annoying), you can right click the application in your taskbar and click “Maximize to Desktop.”
To display the two files side by side instead of on top of each other, you have to load the two files as two separate instances. To do this, you must open a new instance of Excel, then open/create a workbook.
Summarized steps as below.
- Open the first Excel file you need to access and put that on Monitor.
- Open a second instance of Excel on Monitor #2 by going to the Start Menu > Programs > Microsoft Office > Excel.
- Move this second instance of Excel to Monitor #2.
- Open or create a workbook from the second instance of Excel that’s now on Monitor #2.
Click on the Office button (upper left corner) → Excel options → Advanced → General → check “Ignore other applications that use Dynamic Data Exchange (DDE)” box → OK. Excel spreadsheets will now open as a new file each time.
Please note: checking “Ignore other applications that use Dynamic Data Exchange (DDE)” box will sometimes cause your spreadsheets save with data on them to open as blank or grey spreadsheets. You will have to uncheck “Ignore other applications that use Dynamic Data Exchange (DDE)” box to eliminate this problem. Its kind of a catch 22.
How to Open two Excel Files in Separate Windows to View them Side by Side in Windows 11
How to view worksheets side-by-side in Excel?
Step 1: Open the workbooks with the worksheets that you want to place side-by-side. Step 2: On the Excel Ribbon, click the View tab. Step 3: Click the View tab and click View Side by Side within the Window group. Step 4: If you have more than two workbooks open, Excel will launch the Compare Side by Side dialog box.
How to view multiple worksheets side by side vertically in Excel?
Hence, follow the below process to view multiple worksheets in the same workbook side by side vertically in Excel. STEPS: First of all, open the workbook and click the desired sheet. Then, select New Window under the View tab in the Window group. Afterward, repeat the above step for each worksheet.
How do I use two Excel sheets side by side?
Click on one of the worksheets in one of the windows. Click on another worksheet in the other window. Now you’ll have both Excel sheets side by side, making it easier to compare and work with the data.
How to place worksheets from different workbooks side-by-side in Excel?
Here are the steps you should take to place worksheets from different workbooks side-by-side: Step 1: Open the workbooks with the worksheets that you want to place side-by-side. Step 2: On the Excel Ribbon, click the View tab. Step 3: Click the View tab and click View Side by Side within the Window group.
