One of the common features required in a typical PHP web application is the provision of letting the user upload files. Uploading files from a client is very easy in PHP. In this chapter, we shall learn how to use PHP script for the file upload process.
In order to perform this activity, we must first ensure that configuration settings related to file upload are enabled in “php.ini”.
Open the “php.ini” file and ensure that the following settings are enabled by removing the leading semicolon (;) symbol in file_uploads, upload_tmp_dir, upload_max_filesize and max_file_uploads parameters −
It is necessary that the folders for both temporary and final locations have permissions set that enable file writing. If either is set to be read-only then process will fail.
Uploading files is a common task in many web applications. For example, you may want to allow users to upload profile pictures, documents videos, etc. In this comprehensive guide I’ll walk you through everything you need to know about uploading files in PHP using practical examples.
An Overview of File Uploads in PHP
To upload files in PHP you need to use a special $_FILES array that PHP provides to handle file uploads. Here’s a quick overview of how it works
-
The uploaded file information is stored in the
$_FILESarray. -
$_FILEScontains all the uploaded file information like name, size, type etc. -
It has a nested structure with information separated for each uploaded file.
-
You need to pass the
enctype="multipart/form-data"attribute in your HTML form to enable file uploads. -
The uploaded file is temporarily stored on the server before you process it further.
-
You need to write PHP scripts to process the uploaded file as required. For example, saving it permanently on the server.
Now let’s understand this in more detail with examples.
Allowing File Uploads in HTML Forms
First, you need an HTML form with file input type to allow users to select and upload files:
<form method="post" enctype="multipart/form-data" action="upload.php"> <input type="file" name="fileToUpload"> <input type="submit" value="Upload File"> </form>Here are a few important points about the form:
-
Set the
method="post"to send the form data. -
The
enctype="multipart/form-data"attribute enables file uploads in the form. -
The
nameattribute of the file input will be used later in PHP to retrieve the uploaded file. -
The
actionattribute specifies the PHP script that will handle the uploaded file.
Once you have this form, the user can select a file to upload and hit the submit button. Next, let’s see how to handle the uploaded file in PHP.
Handling Uploaded Files in PHP
When a file is uploaded, PHP stores the uploaded file data in a global associative array called $_FILES.
This $_FILES array contains all the information about the uploaded file like:
-
$_FILES['name']– The original name of the uploaded file. -
$_FILES['tmp_name']– The temporary location of the uploaded file on the server. -
$_FILES['size']– The size of the uploaded file in bytes. -
`$_FILES[‘type’] – The MIME type of the file.
-
$_FILES['error']– The error code.
Let’s see how we can handle the uploaded file in PHP:
// Check if file was submittedif(isset($_FILES['fileToUpload'])){ // Get file info $fileName = $_FILES['fileToUpload']['name']; $fileTmpName = $_FILES['fileToUpload']['tmp_name']; $fileSize = $_FILES['fileToUpload']['size']; $fileError = $_FILES['fileToUpload']['error']; // Do processing here }We first check if the fileToUpload index exists in the $_FILES array. If yes, we can extract the specific uploaded file information we need:
- Original name in
$fileName - Temporary path in
$fileTmpName - Size in
$fileSize - Error in
$fileError
Now we can write additional code to validate, process and save the uploaded file.
Uploading Multiple Files
You can allow users to upload multiple files in the same form by using multiple file input elements:
<input type="file" name="file1"><input type="file" name="file2"> <input type="file" name="file3">The $_FILES array will now contain information about all the uploaded files under separate indexes:
$_FILES['file1']$_FILES['file2'] $_FILES['file3']You can loop through $_FILES and process each uploaded file individually.
Validating and Securing Uploaded Files
It is important to validate and secure uploaded files properly before saving them. Here are some common validations:
1. Check for Errors
Always check for any errors first:
// File upload error checkif($_FILES['fileToUpload']['error'] > 0){ echo "Upload Error: " . $_FILES['fileToUpload']['error']; exit; }Typical errors are exceeding max file size, partial upload errors, no file uploaded etc.
2. Check File Size
Make sure the uploaded file size is under your expected max size:
// Check file sizeif($_FILES['fileToUpload']['size'] > 1000000){ echo "File too large";}3. Validate File Type
You can allow only specific file types to be uploaded:
$allowedTypes = array('jpg','png','jpeg','gif');// Validate file typeif(!in_array($fileType, $allowedTypes)){ echo "Invalid file type";} Get the $fileType from the file extension or MIME type in $_FILES['type'].
4. Sanitize Filename
Remove any special chars from the filename that may be unsafe:
$fileName = preg_replace("/[^A-Za-z0-9.]/", "", $fileName); This allows only letters, numbers and periods in the filename.
By doing these validations, you can catch any errors or malicious uploads and prevent system exploits.
Saving the Uploaded File
Once the file is validated, you can move it to a permanent location on the server to save it.
Get the temporary file path from $_FILES['tmp_name'] and use the move_uploaded_file() function:
$uploadPath = '/uploads/';$uploadFile = $uploadPath . basename($_FILES['fileToUpload']['name']);if(move_uploaded_file($_FILES['fileToUpload']['tmp_name'], $uploadFile)) { echo "File uploaded successfully";} else{ echo "Error uploading file";} This moves the uploaded file from temp path to the /uploads/ folder on your server and saves it there.
You may want to store the filename in your database as well, so you can link it to the user who uploaded it.
And that’s the basics of handling file uploads in PHP! Let’s now look at some common scenarios and examples.
Example 1: Upload a Profile Picture
Here is a common example – allowing users to upload their profile picture on your site:
// Check file is submittedif(isset($_FILES['profilePic'])){ // Validation if($_FILES['profilePic']['size'] > 200000) { echo "File too large"; } // Accept image files only $allowedTypes = array('jpg','png','jpeg','gif'); if(!in_array($fileType, $allowedTypes)) { echo "Invalid file type"; } // Save file $fileName = $_FILES['profilePic']['name']; $fileTmpName = $_FILES['profilePic']['tmp_name']; $uploadPath = '/uploads/pictures/'; move_uploaded_file($fileTmpName, $uploadPath.$fileName); // Save filename to database $userId = $_SESSION['userId']; $sql = "UPDATE users SET profile_pic='$fileName' WHERE id=$userId"; // Run SQL query to update user profile pic echo "Profile picture uploaded successfully";}We do validations, save the file on the server and also update the user’s database record with the filename.
Example 2: Upload Multiple Documents
For another example, let’s allow users to upload multiple document files:
if(isset($_FILES['documents']) && is_array($_FILES['documents']['name'])) { // Loop through files foreach ($_FILES['documents']['tmp_name'] as $key => $tmpName ) { $fileName = $_FILES['documents']['name'][$key]; // Validation $fileSize = $_FILES['documents']['size'][$key]; $fileType = $_FILES['documents']['type'][$key]; if($fileSize > 1000000) { echo "Max file size exceeded"; continue; } if(!in_array($fileType, ['docx','pdf','txt'])) { echo "Invalid file type"; continue; } $uploadPath = '/uploads/documents/'; // Upload file move_uploaded_file($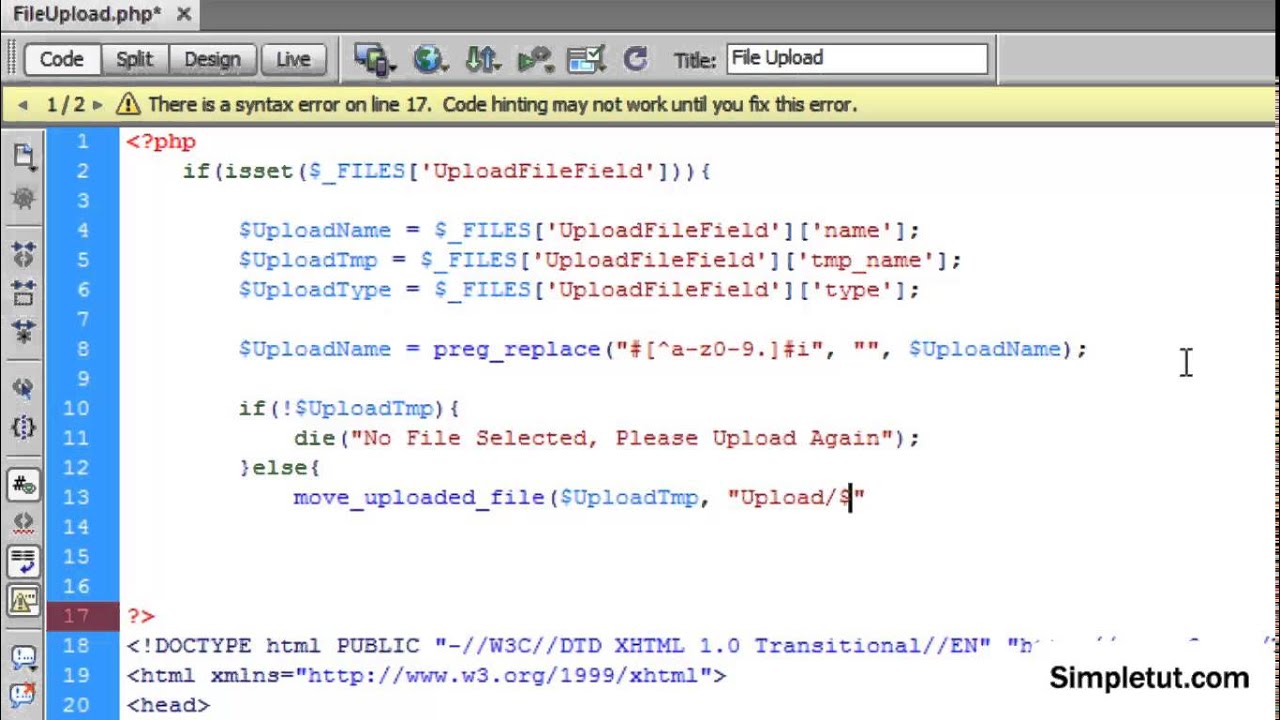
Creating a File Upload Form
Next, we need to design a HTML form for file upload. The form’s method attribute must be POST and enctype must be multipart/form-data. Use the input type as file to let the user browse and select the file to be uploaded.
PHP File Uploads | The Complete Guide to Uploading Files Using PHP
How do I upload a file in PHP?
The “upload.php” file contains the code for uploading a file: echo “File is an image – ” . $check [“mime”] . “.”; echo “File is not an image.”; PHP script explained: Note: You will need to create a new directory called “uploads” in the directory where “upload.php” file resides. The uploaded files will be saved there.
What is the difference between index php and upload PHP?
The index.php file holds code which is responsible for displaying the file upload form. On the other hand, the upload.php file is responsible for uploading a file to the server. Also, a file will be uploaded in the uploaded_files directory, so you need to make sure that this folder exists and is writable by the web-server user.
How do I upload a file?
Click on the Browse button—that should open a dialog box which allows you to select a file from your computer. Select a file with one of the extensions allowed in our script, and click on the Upload button. That should submit the form, and if everything goes well, you should see the uploaded file in the uploaded_files directory.
How do I create a PHP file?
Just create a PHP file on your server with the following line, and open it from the browser. Here’s an excerpt from a setup file with some useful defaults. ; Whether to allow HTTP file uploads. ; Temporary directory for HTTP uploaded files. ; Will use system default if not set. ; Maximum allowed size for uploaded files.
