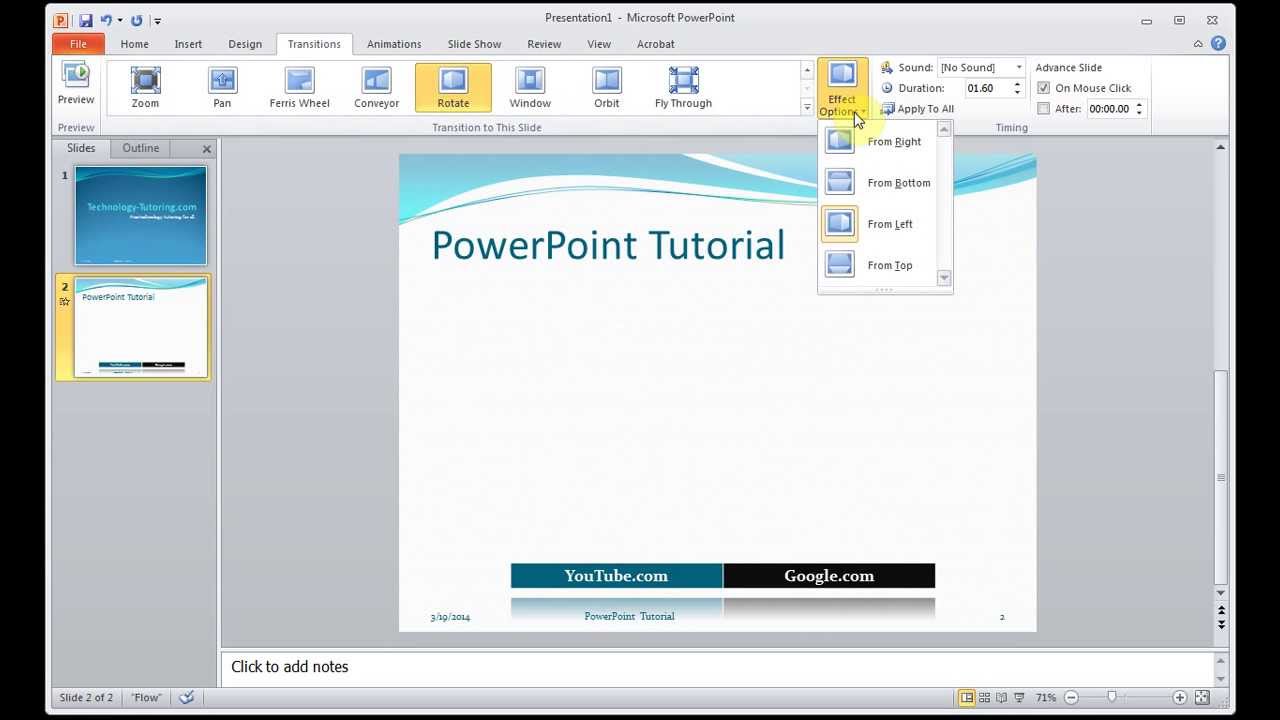
You might need to rotate a PowerPoint slide or an object to adjust to your requirements or to change an element in PowerPoint templates you might need to edit. Individual slide objects and the whole slide can be rotated using the Rotate Objects option.
Have you ever struggled to fit a tall vertical image or infographic onto a standard landscape PowerPoint slide? Or wanted to creatively switch up your presentation with a different slide orientation? If so you’ll be glad to know that it’s easy to rotate a slide in PowerPoint toportrait or landscape layout with just a few simple steps.
In this comprehensive guide, we’ll cover everything you need to know to rotate slides in PowerPoint, including:
- The benefits of rotating slides
- Step-by-step instructions for rotating slides
- Tips for adjusting layout after rotation
- How to rotate multiple slides at once
- And much more!
Whether you’re a complete beginner or a seasoned PowerPoint pro, rotating slides is a great skill to add to your presentation toolbox. So let’s get started!
Why Rotate a PowerPoint Slide?
Most PowerPoint slides use the default landscape (horizontal) orientation But occasionally, switching to a portrait (vertical) layout can be useful for
- Showcasing tall images, charts, or diagrams that need more vertical space.
- Creating an eye-catching change of pace within your presentation.
- Better accommodating the dimensions of an infographic or other visual content.
- Displaying lists or sequences of information that flow better vertically.
Even just rotating a single key slide within your presentation can make that slide more impactful and memorable for your audience.
So if standard landscape slides aren’t fitting your needs, rotation gives you the flexibility to customize each slide for maximum effectiveness. Let’s look at how it works.
Step-by-Step Guide to Rotating Slides in PowerPoint
Rotating a slide in PowerPoint is easy thanks to the Custom Slide Size dialog box. Here is a simple 6 step walkthrough:
1. Select the Slide to Rotate
In the left pane, click the thumbnail of the slide you want to rotate to select it. This will be the active slide that you’ll make changes to.
2. Go to the Design Tab
At the top, click on the “Design” tab in the ribbon. This displays options for customizing the overall design and layout of your presentation.
3. Click on “Slide Size”
In the Customize group, click the “Slide Size” button to open a menu.
4. Select “Custom Slide Size”
From the Slide Size menu, choose “Custom Slide Size” to open the customization dialog box.
5. Change the Orientation
In the dialog box, click the orientation you want:
- Portrait for vertical
- Landscape for horizontal
6. Apply to All Slides or Just the Selected One
Finally, click OK to save your changes. A pop-up will ask if you want to apply the rotation to all slides or just the selected one.
And that’s it! With only a few clicks, your slide is now rotated to the desired orientation. Super easy.
Here is a quick 1 minute video showing the slide rotation process:
<iframe width=”560″ height=”315″ src=”https://www.youtube.com/embed/X-eTbbhFzWo” title=”YouTube video player” frameborder=”0″ allow=”accelerometer; autoplay; clipboard-write; encrypted-media; gyroscope; picture-in-picture; web-share” allowfullscreen></iframe>
Now let’s look at some tips for working with rotated slides…
Adjusting Layouts After Rotating Slides
After rotating a PowerPoint slide, you may need to make some layout adjustments:
-
Text boxes and placeholders: These may need to be moved, resized, or reformatted to fit the new shape of the slide.
-
Images, shapes, and illustrations: Similarly, graphic elements will likely need to be repositioned and potentially resized for the new orientation.
-
Fonts: Text that looked good in landscape may be too small or large in portrait layout. Some font size tweaking may be needed.
-
Animations: Check that animations and transitions still work as intended on the rotated slide. Timing and sequence may need minor editing.
-
Consistency: Evaluate if the rotated slide disrupts the flow of the presentation. If so, consider reverting back to the original orientation.
With practice, you’ll get better at predicting needed layout changes when rotating PowerPoint slides. But the first few times, be ready to adjust formats, sizes, positions, and animations on the rotated slide.
Tips for Rotating Multiple Slides
You can rotate multiple slides in PowerPoint at once using the same Custom Slide Size dialog box:
-
Select multiple slides in the left pane by Ctrl/Shift clicking thumbnails.
-
Open Custom Slide Size, choose desired orientation, and apply to “Selected Slides.”
-
Consider grouping related vertically oriented slides together for consistency.
-
Double check animations and transitions between rotated slides.
Rotating slides throughout your presentation can add nice visual variety. Just be thoughtful about which slides you rotate and make sure the changes complement your content.
Other Options for Rotating Slides
In addition to the slide-level rotation we’ve covered, you can also rotate individual objects like text boxes, images, and shapes:
-
Click the object, go to “Format” tab, then “Rotate” button.
-
Or select the object, then drag the rotate handle to manually turn the object.
If you just need to rotate one prominent photo or text box, this spares you from rotating the entire slide.
Some other options for rotating slides in PowerPoint include:
-
The Orientation button in Page Setup for notes, handouts, and printout master pages.
-
The Rotate Feature in PowerPoint Designer to automatically rotate based on inserted images.
-
The Rotate command in guides like Gridlines and Alignment.
Frequently Asked Questions About Rotating Slides
Here are answers to some common questions about rotating slides in PowerPoint:
How do I rotate a slide in PowerPoint for Mac?
Same process! Just go to the Design tab, select Slide Size, choose Custom Slide Size, pick Portrait or Landscape orientation, and click OK.
Can I rotate slides in PowerPoint online?
Unfortunately slide rotation is not supported in the web versions of PowerPoint at this time.
What if my content doesn’t fit after rotating?
Don’t worry, the Maximize/Ensure Fit options in the pop-up after rotating will adjust text and object sizes as needed.
Will rotation affect animations on my slide?
Possibly. Review animations and transitions on rotated slides and tweak as needed.
Can I undo a slide rotation if I don’t like it?
Yes, just navigate back to the Custom Slide Size dialog box and switch the orientation back.
Final Thoughts
As you can see, rotating slides in PowerPoint is a snap once you know how to access the Custom Slide Size dialog box. With this handy tool, you can easily rotate landscape layouts to portrait, portrait layouts to landscape, or any other orientation changes your presentation requires.
So next time you’re struggling to cram that tall graphic into a horizontal slide, give rotation a try. Or liven up a boring presentation by throwing in some unexpected vertical slides.
With the ability to rotate slides at your fingertips, you can more creatively adapt PowerPoint to your content. Your future presentations will thank you (and your audiences too)!
So try out these simple steps for rotating single or multiple slides. And if you have any other questions, let us know in the comments below. Happy spinning!