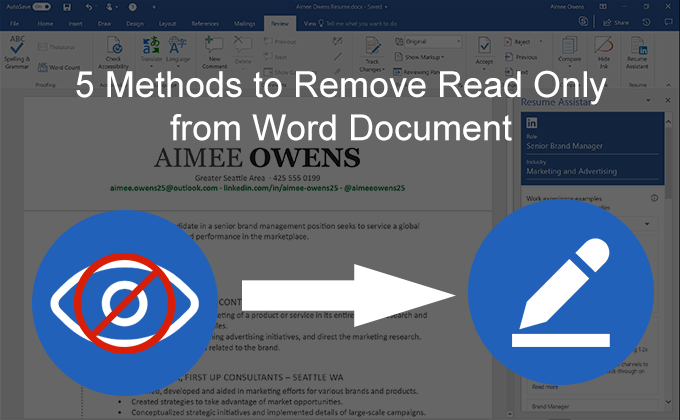
Dealing with Word documents that have the ‘read only’ status enabled can be frustrating You want to edit the document, but Word won’t allow it. Fortunately, removing read only protection is easy once you know how. In this article, I’ll explain why Word files get marked read only and walk you through the steps to remove read only status
What Does ‘Read Only’ Mean in Word?
When a Word document is marked read only, it means you cannot edit the file. You can view the contents and print the document, but all editing commands will be greyed out. Any changes you try to make will be blocked.
There are a few common reasons a Word doc may be read only:
-
The file is protected. The author of the document likely enabled read only to prevent accidental changes.
-
The file is opened from a CD or other removable media. To prevent accidental deletion, Word marks these files read only by default
-
The file is marked read only in Windows. The read only attribute can be set at the operating system level.
-
The document is locked for editing by another user. This happens when multiple people open a shared document.
So read only is a safety measure to prevent unintended changes. But it becomes a nuisance when you want to legitimately edit the file. Let’s look at how to remove read only status
How to Remove Read Only in Word
Removing the read only attribute is a straightforward process in Word. The exact steps depend slightly on why the file is marked read only in the first place. Here are the methods that work for most situations:
Open the Protected Document
First, open the read only Word document you want to edit. You may see a banner or notification that the file is protected:
![Banner showing File in Protected View and prompting to Enable Editing][]
If you see this banner, click the “Enable Editing” button. This will remove the protected view and allow you to edit the document.
Find the Editing Restriction Banner
In some cases, there won’t be a warning banner after opening the file. But you’ll still find you can’t edit the document. Check for a “Restrict Editing” banner at the top:![Image showing Restrict Editing banner in Word doc][]
This indicates the document has full read only protection turned on. To remove it, click the “Stop Protection” button in the banner.
Use the Review Tab
If there is no banner, the read only state is likely from the file properties rather than document protection. Here’s how to remove it:
-
Open the read only document in Word.
-
Select the Review tab in the ribbon.
-
Click Protect, then select Stop Protection.
This will turn off protection for the document and make it editable again.
Check File Properties
Sometimes the read only state comes from the file properties rather than document protection. Here’s how to check:
-
Open the file in Word.
-
Go to the File tab and click Info.
-
Under Properties, look for Read-only and make sure the box is unchecked.
-
Click OK to close the document properties.
The document should now open with editing enabled.
Copy File Contents
If all else fails, you can copy and paste the contents into a new Word document. This will discard any protection on the original.
To do this:
- Open the read only document.
- Select all text by pressing Ctrl + A.
- Copy it by pressing Ctrl + C.
- Open a new blank Word document.
- Press Ctrl + V to paste the contents.
- Save the new document.
You can now edit the text in the new document without restrictions. Just be sure to give it a different name than the original.
Tips for Removing Read Only in Word
Here are some additional pointers to make removing read only protection easy:
- Check the file location. If a document is on a CD or network share, it may revert to read only each time you open it. Copy it to your local hard drive if possible.
- Open Word files directly. Don’t double-click Word files to open them in read only mode. Instead, open Word first, then browse to select the file.
- Remove Windows attributes. In File Explorer, right click the file, select Properties, and uncheck the Read-only box. This prevents OS-level restrictions.
- Use Save As. If you can’t remove the restriction, use Save As to create an editable copy. Rename it to indicate it’s a duplicate.
- Close and reopen the file. After removing protection, close and reopen the document to clear any lingering read only flags.
- Disable protected view. In Word options, you can turn off protected view to prevent opening files as read only by default.
Why Won’t a Word Document Stop Being Read Only?
Sometimes read only restrictions keep coming back after you remove them. Here are some possible reasons:
- The file is reopening from a CD or network location. Try copying it locally.
- Another user has the document open, locking it. Make sure you have exclusive access.
- The read only property keeps getting reset in Windows. Change the attribute in File Explorer > Properties.
- You’re using an old version of Word that doesn’t support removing protection. Update to the latest version.
- There’s a permissions issue allowing read access only. Contact the file owner to confirm you have edit rights.
- The document contains tracked changes or comments. Accept all revisions and the issue may resolve.
If none of these work, the original author may have password protected the document from editing. You’ll need the password to remove protection completely.
Can You Override Read Only in Word?
Strictly speaking, you shouldn’t override read only without authorization. The protection is there for a reason – to prevent unwanted changes to important documents.
Attempting to forcibly unlock a file is not recommended. That said, here are a couple last resort options if you absolutely need to edit:
- Upload the document to Google Drive or OneDrive. Cloud services will sometimes allow editing.
- Use the “Save As” method already mentioned to create an editable copy. This doesn’t modify the original.
- Open the file in alternative software like OpenOffice or Google Docs. Some programs can bypass Word protections.
- Export the text to Notepad, make edits, and import back to Word. Formatting will be lost though.
Again, use these methods judiciously. Respect the author’s intentions and only override read only if essential.
Dealing with read only Word docs may be annoying, but removing the restrictions is straightforward once you know the steps. Check for banner prompts, use Stop Protection if needed, and clear file attributes. With some simple tweaks, you’ll lift restrictions and start editing again.
Just be thoughtful about when it’s appropriate to remove protections. If in doubt, consult the document owner first. With the right approach, you can eliminate frustrating read only files in Word.
How To Remove Read-Only From A Microsoft Word Document [Tutorial]
How do I remove read only from a Word document?
Look towards to the Protect area at the top and click on the option that says Restrict Editing. A new pane will appear on the right-hand side. There’s a button at the bottom of this pane saying Stop Protection. Click on the button to remove read only from this Word document.
How do I fix read only mode in word?
One of the possible ways to fix read only mode in Word is to change an attribute for your file. Right-click on your Word document and select Properties. Tick-mark Read-only and click on OK. Open the Properties menu again, untick the Read-only option, and hit OK. Open the file in Word and it should let you edit it.
How to remove read-only status in word?
Choose the right method according to your specific situation. After the Word document is open, if you see a yellow banner at the top of the document that says ” MARKED AS FINAL “, just click the Edit Anyway button on the banner to remove the Read-Only status.
How do I disable read-only in word?
Step 1: Right click on the Word file and select Properties from the context menu. Step 2: When the file’s Properties window opens, select the General tab, uncheck the Read-only box in the Attributes section and click Apply followed by OK.
