Page breaks in Word give you control over where content starts and stops on each page. But sometimes page breaks end up in the wrong spots or you want to get rid of them entirely.
In this guide I’ll cover several quick and easy methods to remove manual and automatic page breaks in Word documents.
Follow these simple steps to delete page breaks on Windows and Mac:
Show Hidden Page Breaks
To see page break locations
- Go to Home tab and click ¶ button in Paragraph group
- Or use Ctrl+Shift+8 shortcut to toggle visibility on/off
This displays manual and automatic page break symbols.
Remove Manual Page Break
To delete a manual page break you inserted
- Click on the break to select it (symbol turns gray)
- Press Backspace or Delete key to remove
The manual page break is now gone from the document.
Delete Multiple Page Breaks
To quickly erase several manual page breaks:
- Keep Show/Hide turned on to display break symbols
- Use Ctrl + click to multi-select the page breaks you want to delete
- Press Delete to remove all selected breaks at once
Adjust Automatic Page Breaks
You can’t delete automatic page breaks, but you can adjust where they fall:
- Select the paragraphs where you want to change page break settings
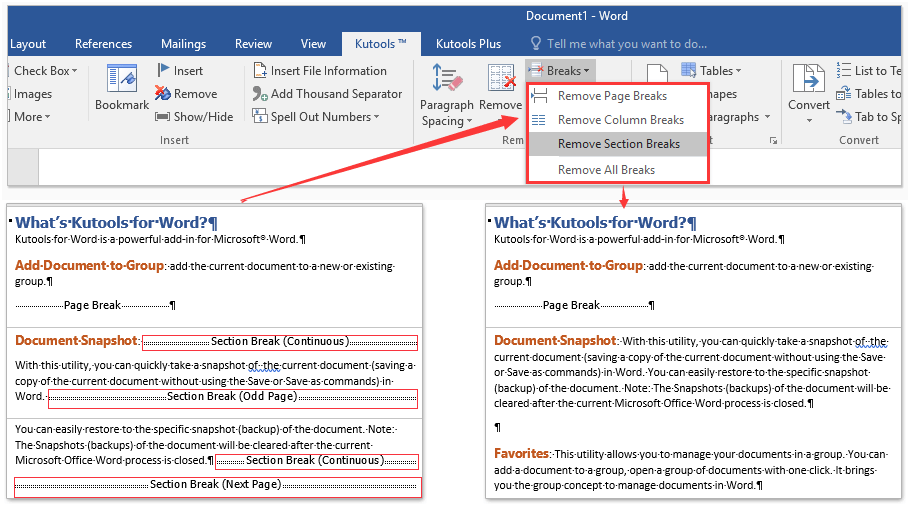
- Go to Layout tab and click Breaks button
- In Page Break options, deselect “Widow/Orphan control” and other settings
This will allow automatic page breaks between the paragraphs.
Reset Page Breaks Completely
To remove all manual page breaks and restore auto page breaks:
- Go to Layout tab and click Breaks > Reset All Page Breaks
- This returns page breaks to Word’s default formatting
Bonus Tips for Page Break Removal
-
Use the Replace tool to find and delete multiple “^m” breaks
-
Copy-paste the content to a new document to completely reset all page breaks
-
For a linked text box or shape, break the link first before deleting page break inside
-
Check for page break-related formatting like borders, headers and page numbering
So if unwanted page breaks are disrupting your Word documents, these simple techniques will help you regain control.
How to remove a page break in Word in 1 MINUTE (HD 2020)
How do I delete a page break in word?
Here are two quick ways to delete page breaks in Word. Open your Word document. Go to Home > Click the Show/Hide button to display all non-printable hidden marks like page breaks, spaces, and non-breaking spaces in the document. Double-click to select a page break and press Delet e to remove it.
How do I remove a section or page break?
To do so, click the “Show/Hide” icon in the “Paragraph” group of the “Home” tab. You’ll now be able to see the breaks. Next, click and drag your cursor over the section or page break to select it. The break will be highlighted in gray when selected. Once it’s selected, press Backspace. The section or page break will now be removed.
How do I delete a manual page break?
Manual page breaks are hidden by default. If you want to delete a manual page break easily, turn on Show/Hide ¶. To delete a break: If necessary, click the Home tab and then click Show/Hide ¶. Double-click the break to select it or drag over it. Press Backspace or Delete to delete the break.
How do I remove a page break from a paragraph?
In the Paragraph dialog box, select Line and Page Breaks. Select Home > Show/Hide . This will display non-printing characters—paragraph markers, section breaks, page breaks, etc.—that you may want to see while you’re working on your document. Double-click the page break so that it’s selected, and then press Delete.
