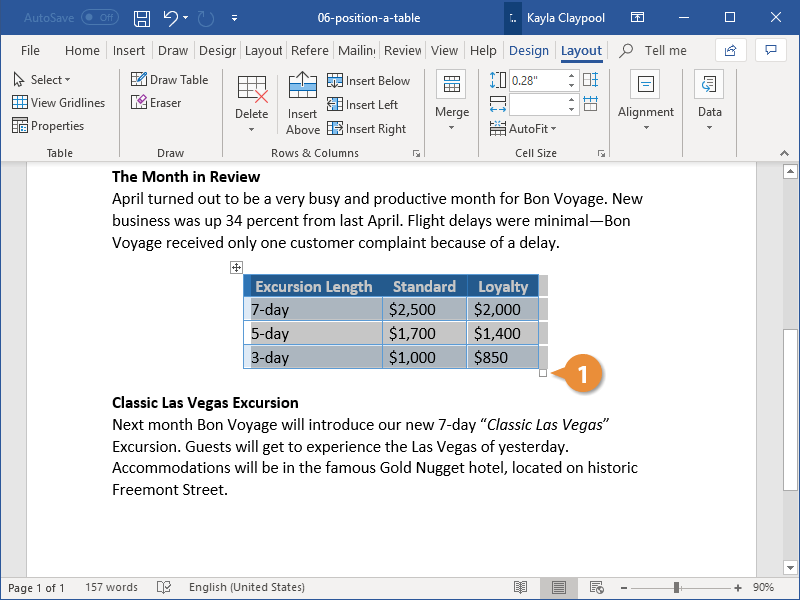
Microsoft Word allows you to create tables to organize and present data in your documents. However, you may sometimes need to move a table to a different location in your document after creating it. Fortunately, Word provides a few straightforward ways to move tables, even between different pages. In this article, I’ll walk through the steps for moving tables in Word using various methods.
Why Move Tables in Word?
Here are some common reasons you may need to move a table in Word:
-
You created the table in the wrong location and want to move it to a more logical position related to the surrounding text.
-
You added information above or below the table after inserting it, so now the table placement seems awkward.
-
You are reorganizing the document structure and need to move the table to match.
-
You are breaking the document into multiple files or sections and need to move the table to a different file/section.
-
You inserted a new table or other element that shifts the ideal position of the original table.
The ability to simply reposition tables by dragging or cutting/pasting makes document editing and reorganization much easier in Word.
Methods for Moving Tables in Word
Word provides three main options for moving tables
-
Dragging the table to a new location
-
Cutting or copying and pasting the table
-
Using the “Move Table” command
I’ll now explain each method in more detail and when you may want to use one vs. another.
Drag the Table
Dragging is the fastest and easiest way to move a table, especially small distances on the same page or between adjacent pages. To drag a table:
-
Click anywhere in the table to select it.
-
Move your cursor over the table’s border until you see the 4-headed arrow cursor.
-
Click and drag the table to its new location. A dotted-line outline will appear so you can see where the table will land when you release the mouse button.
-
Let go of the mouse button to drop the table into place.
The surrounding text will automatically flow around the table in its new position. Dragging provides a quick visual method for table repositioning. However, it can get tedious dragging more than a few pages.
Cut/Copy and Paste
For longer distance table moves, cutting/copying and pasting is easier than dragging. To cut or copy a table:
-
Select the entire table by clicking the table handle in the top-left corner.
-
Do one of the following:
- Right-click the table and choose “Cut” or “Copy”
- Press Ctrl+X to cut or Ctrl+C to copy
- Go to the Home tab and click the Cut or Copy buttons
-
Place your cursor at the new table location.
-
Do one of the following to paste the table:
- Right-click and select “Paste”
- Press Ctrl+V
- Click the Paste button on the Home tab
This will insert the table and surrounding text will reflow around it. Copying keeps the original table intact while cutting removes it.
Move Table Command
The Move Table command in the Layout tab provides additional options for controlling how the text reflows around the relocated table. To use it:
-
Select the table and go to Layout > Move > More Layout Options.
-
In the Table Move dialog box, choose options like:
- Move the table to a specific paragraph or page
- Move the table before or after existing paragraphs/tables
- Specify exact distances for table placement
-
Click OK.
The Move Table command gives you precision over both the new table position and how surrounding text reacts.
Adjusting Text Flow Around the Moved Table
Once you reposition a table using any method, you may need to adjust how the text flows around it:
-
To make text wrap tightly around the table, right-click > Table Properties > Text Wrapping > Around.
-
To isolate the table on its own line, select Tight on the Text Wrapping menu.
-
To revert to default spacing between table and text, select None on the Text Wrapping menu.
Take a minute to tweak the text wrapping after moving tables to ensure your document retains a polished, professional look.
Moving tables in Word is easy whether you want to drag them short distances, cut/paste between pages, or use Layout tools for precision placement. Just select the table, employ the desired move method, and then adjust text wrapping if needed. Following the steps in this guide will help you effortlessly reposition tables for optimal document presentation and readability.
Some key pointers to remember when moving Word tables:
- Drag tables for quick in-page repositioning
- Cut/paste for longer distance moves between pages
- Use Layout tools for maximum placement precision
- Adjust text wrapping around the relocated table
With practice across documents, moving tables will become second-nature. This flexibility helps make Word such a powerful program for document creation, editing, and polishing.
The next time you need to move a table in Word, refer to this guide to smoothly relocate it using the optimal method for each situation. Proper table positioning is a key document design principle, so leverage Word’s table move features to enhance the professional look of your important documents.
Word Move Table Freely (2020)
How do I position a table in word?
Tables aren’t simply stuck where they are when you first insert them. You can move them around manually or let Word position them automatically for you. You can position a table the same way that you position regular text, using the alignment controls.
How to move a table in Microsoft Word?
The easiest way to move a table in Microsoft Word is by dragging it. This lets you place the table pretty much anywhere you want. Related: How to Prevent Accidentally Dragging and Dropping Text in Microsoft Word Select your entire table by clicking it and then grabbing the table handle that displays on the top left.
How do I move a table to a new location?
Make sure your table is not too large for the new location. If you’re having trouble selecting the table, try clicking on the edge of it. Use the “Undo” feature if you accidentally move the table to the wrong place. Consider using “Cut” and “Paste” for more complicated moves.
How do I move a table around a page?
The table is aligned to the left, center, or right margin of the page, just like text would be. If the basic alignment options don’t position the table where you want it to be, you can move the table around the page manually. Click the table’s Move handle () and drag it to where you want to move the table.
