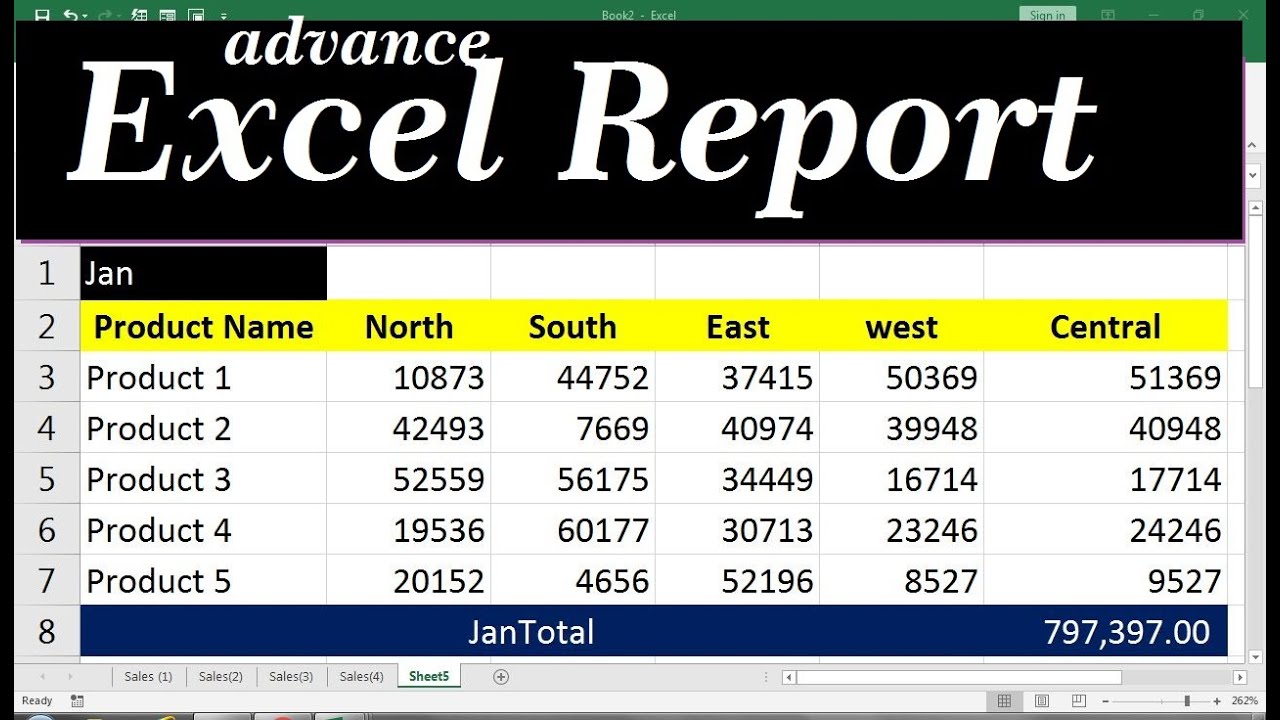
Your manager wants to see a report on your latest sales figures. Theyve requested an executive summary of:
Using our sample finance workbook, we can build this report in no time. Hereâs what the final report will look like. Letâs get started!
As a data analyst or business user, transforming raw Excel data into insightful reports is an essential skill But wrestling numbers into a consumable, visual format can be challenging
Where do you start? How do you turn dry figures into compelling charts and graphs? What’s the best way to structure and organize key data points?
In this comprehensive guide, we’ll walk through a proven 10-step process to create professional reports in Excel. Follow these visual reporting tips and techniques to produce reports that document findings, highlight trends and metrics, and guide data-driven business decisions.
Step 1: Define the Report Objective
First, clarify exactly what insights the report aims to deliver. Consider:
- Who is the target audience? What information do they need?
- What questions or decisions should the data inform?
- What data points and metrics are most relevant?
- Will the report be recurring or one-time?
With a clear purpose defined, you can build the report to serve that specific goal and audience. Aimless reports lack impact.
Step 2: Collect and Prepare Relevant Data
Next, pull together the raw data required to meet the report objectives. Possible sources include:
- Excel worksheets or external files
- Company databases and systems
- Web analytics platforms
- CRM dashboards
- Finance or sales reports
As you compile data, be sure to:
- Eliminate duplicate or irrelevant information
- Combine data from separate sources into one tabular view
- Clean any incomplete, inaccurate or improperly formatted data
- Sort and filter to isolate key data sets
- Aggregate figures for high-level reporting
Quality analysis requires quality data inputs. Take time to thoroughly prepare the raw inputs.
Step 3: Identify Insights and Message
Now conduct initial analysis to spot trends, variations, correlations and other insights within the prepared data. Determine the most impactful story the data tells.
Ask probing questions like:
- What surprising findings emerged?
- How do results compare to past periods?
- What influencing factors drove metrics up or down?
- What are the most urgent takeaways?
The discoveries uncovered will form the basis for the core report narrative.
Step 4: Outline the Report Structure
With major insights identified, the next step is structuring all information into a logical flow. This outline provides coherence for analysis and conclusions.
Common report structure elements include:
- Title page
- Executive summary
- Methodology
- Findings organized by section
- Data visualizations
- Recommendations
- Appendix for supplementary data
Order elements in a sequence that builds effectively towards conclusions.
Step 5: Craft Descriptive Headers and Titles
Reports require abundant descriptive headers and titles to call out important sections, findings, charts and graphs.
Effective titles:
- Summarize key insights at a glance
- Spotlight comparisons, trends and relationships
- Use active, commanding language
- Avoid ambiguity or vagueness
On formatting, use larger, bolder fonts, generous white space, and visual separators like lines or boxes to distinguish titles from body text.
Step 6: Write the Report Narrative
With the scaffolding built, the next task is writing the report content itself. Bring data to life through insightful narrative that contextualizes the analysis.
Useful narrative techniques:
- Keep sentences and paragraphs concise
- Vary sentence structure for better flow
- Incorporate relevant keywords
- Limit jargon and technical terms
- Use active voice for clarity
- Cite data to substantiate claims
Seamlessly blend quantitative and qualitative insights through articulate writing.
Step 7: Build Supporting Charts and Graphs
Visualizations provide the most effective medium for communicating key data findings. Turn to charts and graphs to showcase important metrics, trends, and relationships.
Consider which graph type best represents the data:
- Column, bar, line – trends over time
- Pie – % breakouts
- Scatter – correlations
- Bullet – concise comparisons
- Gauges – key metrics
Excel offers full visualization capabilities. Transform blah tables into sleek charts.
Step 8: Curate Impactful Visuals
Merely inserting generic charts misses the point. Thoughtfully curate visuals to deliver insights quickly and powerfully.
Strategies for high-impact visuals:
- Display only essential data
- Use colors, shape, size for emphasis
- Keep axis labels clear
- Include concise titles
- Give context via callouts
- Show % change from prior periods
- Align to natural reading gravity
Less is more. Lead viewers’ eyes to the most meaningful parts of each graph.
Step 9: Consolidate Findings into an Executive Summary
Executive summaries condense report highlights into a concise overview for busy readers. They spotlight key facts, conclusions, and recommendations.
Effective executive summaries:
- Provide an at-a-glance overview
- Focus only on crucial insights
- Use bulleted lists and headings
- Remain factual and objective
- Omit details available later
- Include call-to-action next steps
Position this executive view up front before diving into the full narrative.
Step 10: Finalize the Report Design
With content complete, conclude by polishing up the report design and presentation itself. Apply formatting to enhance scannability, draw attention to priorities, and improve consumability.
Best practices for formatting:
- Use document templates for a consistent style
- Break up walls of text with headers
- Incorporate white space strategically
- Align titles, graphics, and headings
- Number pages and add a table of contents
- Use bolding, text size, and color for hierarchy
With these 10 steps, you’re ready to transform raw Excel data into reader-friendly visual reports. Now go inform, influence, and engage your audience through your insightful analysis. Just remember – even the most dazzling data comes to life only when presented clearly and powerfully.
Visual 3: Profit by Country/Region
Create a map to see which country/region had the highest profits.
- From the Data pane, drag the Country field to a blank area on your report canvas to create a map.
- Drag the Profit field to the map. Power BI creates a map visual with bubbles representing the relative profit of each location. Europe seems to be performing better than North America.
Visual 1: Add a title
- On the Insert ribbon, select Text Box. Type âExecutive Summary â Finance Reportâ.
- Select the text you typed. Set the Font Size to 20 and Bold.
- Resize the box to fit on one line.
Now, you create a line chart to see which month and year had the highest profit.
- From the Data pane, drag the Profit field to a blank area on the report canvas. By default, Power BI displays a column chart with one column, Profit.
- Drag the Date field to the same visual. If you created a Calendar table in Extra credit: Create a table in DAX earlier in this article, drag the Date field from your Calendar table instead. Power BI updates the column chart to show profit by the two years.
- In the Add data to your visual section of the Visualizations pane, select the drop-down in the X-axis value. Change Date from Date Hierarchy to Date. Power BI updates the column chart to show profit for each month.
- In the Visualizations pane, change the visualization type to Line chart. Now you can easily see that December 2014 had the most profit.
How to make Summary Report in Excel within 2 minutes, How to Summarize Data in Excel
How do I create a report in Excel?
The first step in creating a report in Excel is to determine the data that will be included and how it will be presented. Take some time to think about the layout of your report and consider what information is most important to convey. Start by outlining your goals for the report and identifying the key data points you want to highlight.
How do I create a visual report in Excel?
One approach to creating reports in Excel is by displaying your data in charts or graphs. Excel provides various chart types that you can use to visually represent your data, such as line graphs, pie charts, and tables. Follow these steps to create a visual report using graphs:
Why do you need to create reports in Excel?
For example, reports can be used to: Overall, the ability to create reports in Excel is a valuable skill that can help you make better decisions and communicate complex data in a clear and meaningful way. Another benefit of creating reports in Excel is the ability to automate data analysis.
How do I create a report using PivotTables?
Create your report using PivotTables by following these steps: Under the “Insert” option, select “PivotTable” in the menu. Select the range and location of the data you want to include in the table. Enter the labels for the reference and values fields of the new table and arrange it in your sheet.
