[et_pb_section fb_built=”1″ _builder_version=”4.16″ _module_preset=”default” global_colors_info=”{}”][et_pb_row _builder_version=”4.16″ _module_preset=”default” global_colors_info=”{}”][et_pb_column type=”4_4″ _builder_version=”4.16″ _module_preset=”default” global_colors_info=”{}”][et_pb_text content_tablet=”So you’re using Google Docs to create a downloadable eBook or PDF and you want to add a cool cover page to it (with no margins) so that it doesn’t look like it’s been created in Word. (Also, because you’re a savvy business owner, you know if you make it look pretty, you will get more downloads)…. but when you added the cover to the first page of your Google Doc, there is an annoying margin around the outside and it’s making your eBook / PDF look amateur.
You want the Cover to fit to the whole page (with no borders). Well don’t worry, you’re in the right place! Scroll on to find our fix…
Disclaimer: The links below are affiliate links, which we receive a small commission for at no cost to you if you purchase one of them with our link. All information on this site is correct at the time of writing and is for informational purposes only and we will not be held liable for any errors made below. We also really appreciate our readers using our affiliate links as they allow us to run this blog and provide free content to our readers.
A cover page is often the first impression of your document. You want it to look polished captivating and convey key details upfront. While cover pages used to require fancy software and design skills, that is no longer the case. With Google Docs, anyone can easily create a stunning cover page.
In this article, I’ll walk through a simple step-by-step guide to designing an eye-catching cover page using only Google Docs. Whether for a business report essay, or other document, these tips will take your cover page to the next level.
Getting Started in Google Docs
First, open Google Docs and start a new Blank Document. This will be the canvas for your cover page.
Across the top menu bar, click File > Page setup. Here you can configure the size, orientation, margins and other page layout options. For a cover page, it often looks best to reduce the top and bottom margins somewhat so the content fills more space.
Adding a Stylish Background
A background image or color is a great way to make your cover page pop. Click Insert > Image in the menu bar and choose an appropriate background photo or graphic. I recommend choosing an image that is representative of your document topic.
Make sure to send the image to the back by selecting it and clicking Arrange > Send backward. This will layer any other elements you add in front of the background.
You can also apply a background color instead of an image. Click the arrow next to Text background color in the toolbar and choose a color that suits your document.
Creating a Border
Borders are an easy way to add visual definition to your cover page edges. Select the entire cover page by doing Ctrl+A (or Cmd+A on Mac). Then click the Borders icon in the toolbar and choose a border style and color.
For a clean look, try a thin black or white border. Thicker borders can also make the cover page feel more framed. Pick a border that coordinates well with your background.
Crafting the Title
Now it’s time to add your key text elements, starting with the document title. This should be large and eye-catching.
Click the Text header dropdown in the toolbar and choose the largest Header 1 style. Type your title. Try to keep it brief yet compelling.
To further emphasize the title, you can make adjustments to the font, size, color, and alignment:
- Choose a font style that matches the tone you want (professional, casual, elegant, etc).
- Increase the font size if the title feels too small.
- Click Text color and choose a color that stands out against the background.
- Use the alignment options to center, left-align or right-align.
Spend some time finding just the right title style and placement. This is the star of your cover page so make it shine!
Adding Subtitle, Author and Other Details
Next include any important supplementary information needed on your cover page. This might include:
- Subtitle – Provides additional context in smaller text under the title
- Author Name – Contains your name or organization’s name
- Date – Shows date created or published
Use the Heading 2 style for a subtitle to make it stand out while still being smaller than the title.
For the author, date, and any other details, regular body text is fine. Just be sure to make it large enough to read. And use consistent text formatting so all the elements tie together nicely.
Center, left-align or right-align the text blocks as desired. Make sure to place them strategically so they don’t cover up your title or background image.
Incorporating Graphics and Images
Visual elements are a great addition to most cover pages. You may want to include:
- A logo or icon associated with your document topic
- Decorative graphics or shapes to match the style
- An author photo or headshot
Keep these images reasonably sized so they don’t overwhelm your text. Insert the graphics near the edges rather than covering up your main title.
To add captions or text directly on an image, right click it and choose Add alt text. This overlays transparent text on the image.
Formatting Consistently
As you add and format cover page elements, be sure to use consistent:
- Font family, size and color
- Alignment and spacing
- Image sizes and positions
This unified formatting makes all the pieces feel cohesive. Resist the urge to format each element differently. Consistency gives a polished, professional look.
Finishing Touches and Double Checking
Before completing your cover page, add any final touches needed:
- Adjust spacing around and between elements so nothing feels crammed together.
- Review font sizes and emphasize key parts like the title.
- Change image sizes or positions if any are awkward or overlapping.
- Proofread carefully to fix any typos or formatting issues.
Finally, have someone else review your cover page to get a second opinion on the design. With a critical eye, make any last tweaks needed to perfect the page.
Putting It All Together
Designing a great cover page is part science, part art. Follow these steps and tips to create a cover page in Google Docs that makes your document stand out:
- Set page size, orientation and margins appropriately
- Add a background image or color that suits your document
- Include borders to frame the page edges if desired
- Craft your title with compelling, descriptive text
- Provide subtitle, author name, date and other details
- Incorporate relevant graphics and images
- Use consistent, readable fonts and formatting
- Refine spacing and alignments to prevent a cluttered feel
- Proofread closely and get a second opinion before finalizing
With Google Docs, you can build a cover page that rivals those made in high-end layout software. Aim for simple, balanced, and professional. And take advantage of all the design options Docs makes available. A customized cover page shows care went into your document and grabs readers’ attention from the very first page.
Insert a Blank Page to your Google Doc
Now you need to create a page for your cover to be added to.
If you haven’t already got an empty first page in your Google Doc, it’s time to create it:
- Simply go to the very top of your document.
- In Google Docs, on your top toolbar, select: Insert -> Breaks -> Page Break
Now you have an empty first page, and you’re ready to paste the cover on to it in the next step.
Insert the Cover Image into the Header of your Google Doc
- In Google Docs, on your top toolbar, select: Insert -> Headers and Footers -> Header
- Tick where it says ‘different first page header/footer’.
- Select ‘Insert’ then ‘’ and select your .
How to Make a Cover Page on Google Docs | Title Page Google Docs
How to write a cover page in Google Docs?
Remember, the cover page will be the first thing your readers see, so you’ll want to make sure it’s relevant to the content of your document. Look at the top of your Google Docs interface. You’ll see a menu bar with various options. Click on ‘Insert’ to proceed to the next step. The ‘Insert’ menu is where all the magic happens.
How do I edit a Google Docs cover page?
Here’s how to modify a Google Docs template: Go to the “ Google Docs “ online website. Click on “Template gallery.” Choose a suitable template to work with. Select “File > Download” to save the cover page. You can save the cover page to your computer in several different formats so that you may edit or share it at any time.
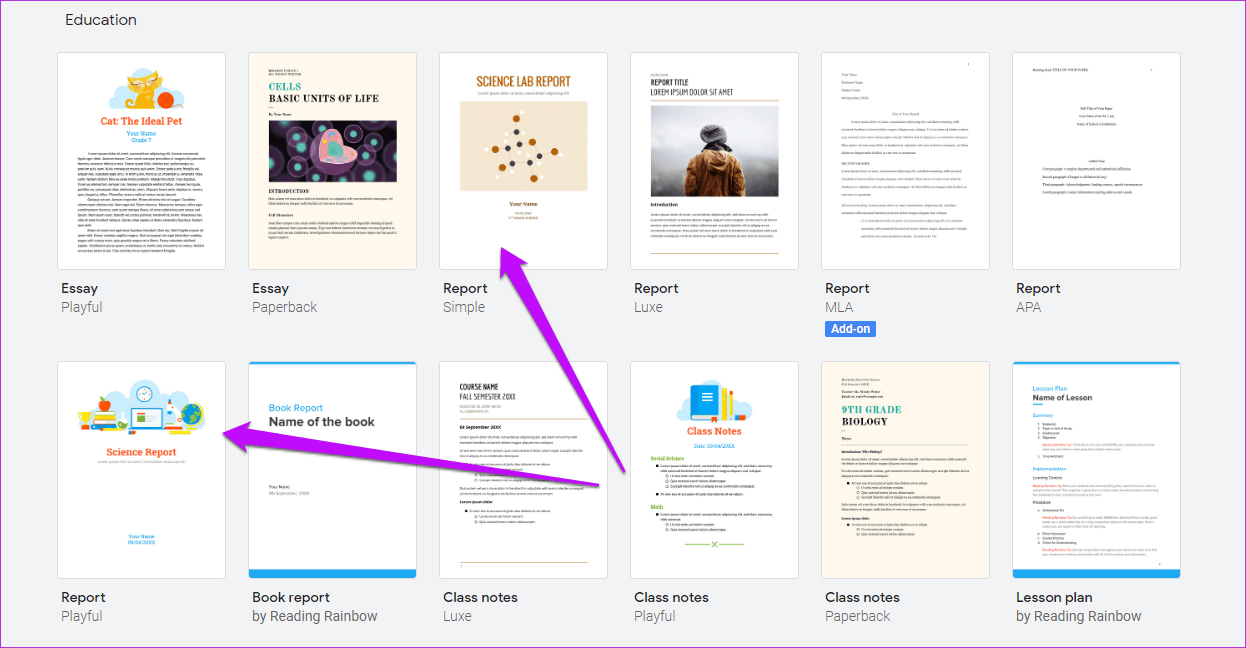
How do I choose a cover page template for Google Docs?
Google Docs offers a range of pre-designed cover page templates that you can choose from. Whether you want something sleek and simple or more colorful and creative, you’re likely to find a template that suits your needs. Browse through the available cover page templates and select the one you like best.
How do I create a cover page for my project?
Here are some tips for designing a cover page for your project: Create directly in Google Docs. Some features of other word processing software may not transfer properly to Google Docs, like images and some formatting. To avoid discrepancies, upload images and type directly in Google Docs. Incorporate white space.
