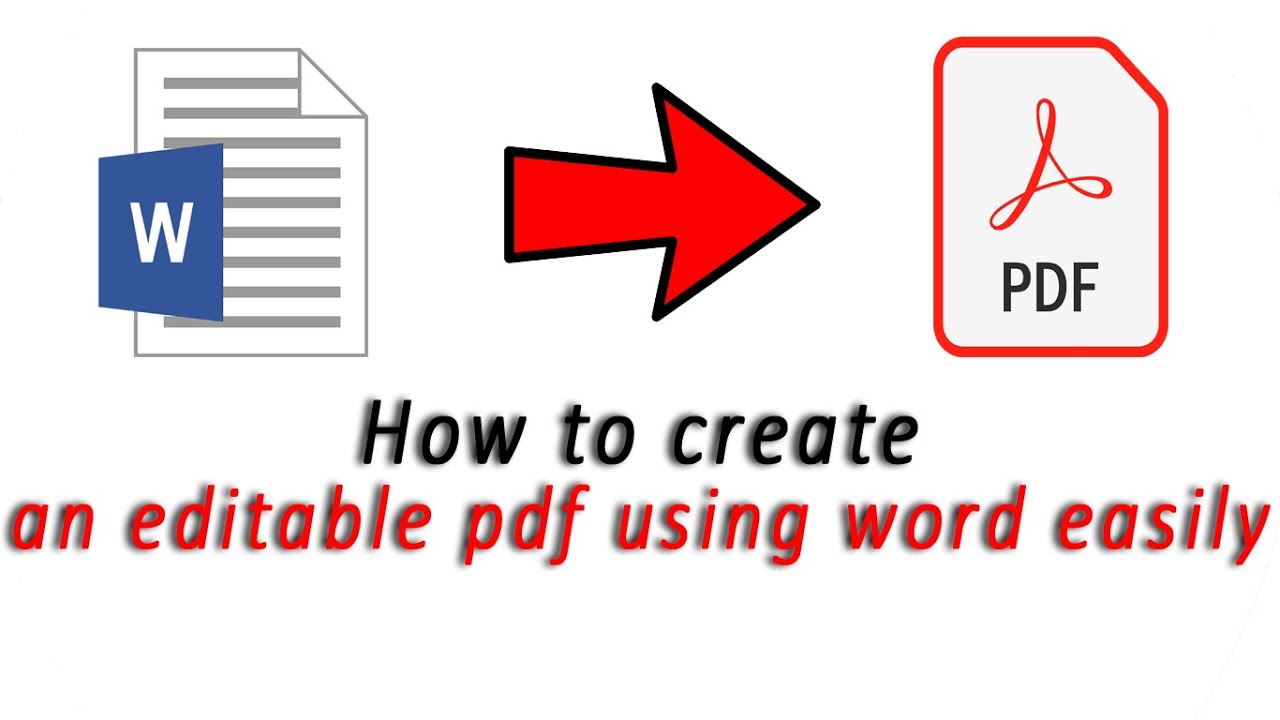
Need to create a fillable PDF form from a Word doc? Converting your document to an editable PDF makes it easy for people to fill out forms by typing directly into the PDF fields.
In this simple guide, I’ll walk through the steps to turn your Word file into an interactive PDF form. By following along, you’ll learn:
-
How to design a fillable form layout in Word
-
The process for converting to an editable PDF
-
Setting PDF form fields and customizing tools
-
How to share and collect filled out PDF forms
-
Tips for creating professional, user-friendly fillable forms
In no time, you’ll have the skills to quickly generate editable PDFs from Word on both Windows and Mac. Let’s get started!
Step 1: Create a Fillable Form Template in Word
First, design your fillable form as a Word document with editable fields:
-
Add text boxes for short answers, dropdowns for multi-choice, checkboxes for ticking, etc.
-
Use Tables to neatly organize fields and guide filling out the form.
-
Insert headings and instructions to make it clear for the user.
-
Use font formatting like bold or text size to make key fields prominent.
-
Test filling out the form in Word to make sure it’s intuitive.
Save your finished Word template with a name like “My Fillable Form”. Now you’re ready to convert this to an interactive PDF.
Step 2: Save the Word Document as a PDF
Here’s how to save your fillable form template as a PDF:
-
In Word, go to File > Save As.
-
In the save dialog, change the “Save as Type” dropdown to PDF.
-
Check the box for “Best for electronic distribution and accessibility”.
-
Click Save.
This exports your Word document into a PDF file. Make sure to save it somewhere easy to find for the next steps.
Step 3: Open PDF in Acrobat, Not Preview
Once exported from Word, open the PDF file in Adobe Acrobat, not Preview:
-
On Windows, open the PDF from Acrobat Reader or Acrobat Pro.
-
On Mac, use the Acrobat app, not the Preview app.
Acrobat will detect the form fields and automatically make them editable. Preview doesn’t!
Step 4: Add Fillable Form Fields in Acrobat
If any fields didn’t convert properly from Word, add them manually:
-
Click the “Fill & Sign” tool to open the right-hand panel.
-
Select “Add Text Field”, “Add Checkmark”, etc and draw fields on the PDF.
-
Right-click each form field and pick “Properties” to customize.
-
Rename, lock, require, and style the fields from the Properties panel.
With Acrobat’s form tools, you can tweak the existing fields and add any missing ones needed for your fillable form.
Step 5: Set Form Field Options
Here are some key options for customizing your PDF form fields:
-
Rename: Double click a field to set a friendly name.
-
Lock: Check “Locked” to prevent editing or moving the field.
-
Required: Check “Required” to mandate filling in the field.
-
Appearance: Change text size, color, background, borders and style.
-
Calculations: Add formulas like totals or VAT to auto-calculate.
-
Validation: Limit responses by number, text length or custom regex.
-
Actions: Make fields populate others, clear, submit, and more.
Take advantage of these to create a polished, professional fillable form.
Step 6: Share and Collect Filled Out PDF Forms
Once your editable PDF form is ready, it’s time to share it for responses:
-
Email the PDF file as an attachment for recipients to fill out and return.
-
Use Acrobat’s “Send for Signature” to gather digital signatures.
-
Enable auto-submit via email or server using an Action.
-
Post the PDF on your website, social, etc. with a submission link.
-
Check out apps like Typeform for simple collection of PDF responses.
Automating submission can save lots of time gathering filled out forms!
Top Tips for Creating User-Friendly PDF Forms
Follow these best practices for designing fillable PDF forms people love using:
-
Write clear, concise instructions so users know what to input.
-
Break long forms into sections with descriptive headings.
-
Limit number of fields per page to avoid crowding.
-
Use sans-serif fonts like Arial for better on-screen readability.
-
Field size should match expected response length.
-
Mark required fields and include field descriptions.
-
Default commonly selected options where possible.
Taking a user-centered approach ensures your PDF forms are intuitive and easy to complete!
Now you have the power to quickly create fillable PDFs from Word documents on both Windows and Mac. Turn those long paper forms into streamlined digital fillable forms anyone can use!
How to create a fillable form in Word
Microsoft Word basic fillable forms are a practical way for you to collect information within a familiar Word environment, letting users edit answer fields but not your questions. You can have them emailed to you or sent to a database upon completion.
The process involves
- Opening Microsoft Word
- Enabling the developer tab for form field insertion
- Adding various form elements like text boxes, checkboxes, and radio buttons
- Customizing their properties such as labels and options
- Testing the forms functionality and
- Saving and distributing the document.
What is the easiest way to create a fillable form?
You find yourself in a situation where you need to collect information for your business or personal life. Youre contemplating using a Word document but sending one Word doc around is hard to version control and can be edited by multiple people. This would ultimately affect the accuracy of your data. So, youre left wondering how you can create a fillable form in Word or PDF. Forms like:
- Order forms
- Feedback forms
- Expense reimbursement forms
- Customer reviews
- Patient records
- Complaint forms
- Quizzes and assessments.
This article will guide you through the process of creating a fillable form, but before we delve into that, consider the option of using a form builder. With a form builder, you can sidestep various challenges, such as preventing text from wrapping within form fields, setting up visual cues for missing information, and storing data in a structured manner. It offers a responsive design for easy access via mobile devices and computers, among many other benefits. So, before you decide, lets explore your options and discover the best solution for your needs.
Make An Existing Word Document Into a Fillable PDF Form | Step by Step
How to create a fillable PDF in word?
Creating a fillable PDF in Word is a task that can be accomplished in a few simple steps. First, you need to design your form in Microsoft Word. Then, you convert your Word document to a PDF format. After that, using Adobe Acrobat or another PDF editing software, you add fillable fields to your PDF. Voila!
How do I make an editable PDF from a Word document?
Here are six steps to help you make an editable PDF from a word document: 1. Open Word and locate the document Open Microsoft Word and find the document you want to make into an editable PDF. To find an existing document, go to “File” and click “Recent.” You can also check the “This Week” section to see if you have recently opened the file.
How to create an editable PDF form?
You can use tables, text boxes, and other formatting tools to create fields for data entry. Go to ‘File,’ click ‘Save As,’ and select PDF from the ‘Save as type’ dropdown menu. Saving your Word document as a PDF is the initial step to creating your editable PDF form. Remember to check the quality settings to ensure the PDF looks as intended.
How do I convert a Word document to a PDF?
Once you’re happy with your Word document, you’ll need to save it as a PDF. Navigate to File > Save As and then change the file format to a PDF. Click Export. Open the PDF with Adobe Acrobat. Right-click the file and select Open With Adobe Acrobat. If you don’t have it on your computer, you’ll need to install it before proceeding.
