Adding a second y axis to a chart in Excel allows you to plot two different data sets with different value scales on the same chart, This can be useful when you want to compare trends between data sets with vastly different value ranges,
For example, you may want to plot revenue on the primary y axis and expenses on the secondary y axis. Doing so allows you to visualize the relationship between revenue and expenses over time, even though expenses are much lower in absolute value compared to revenue.
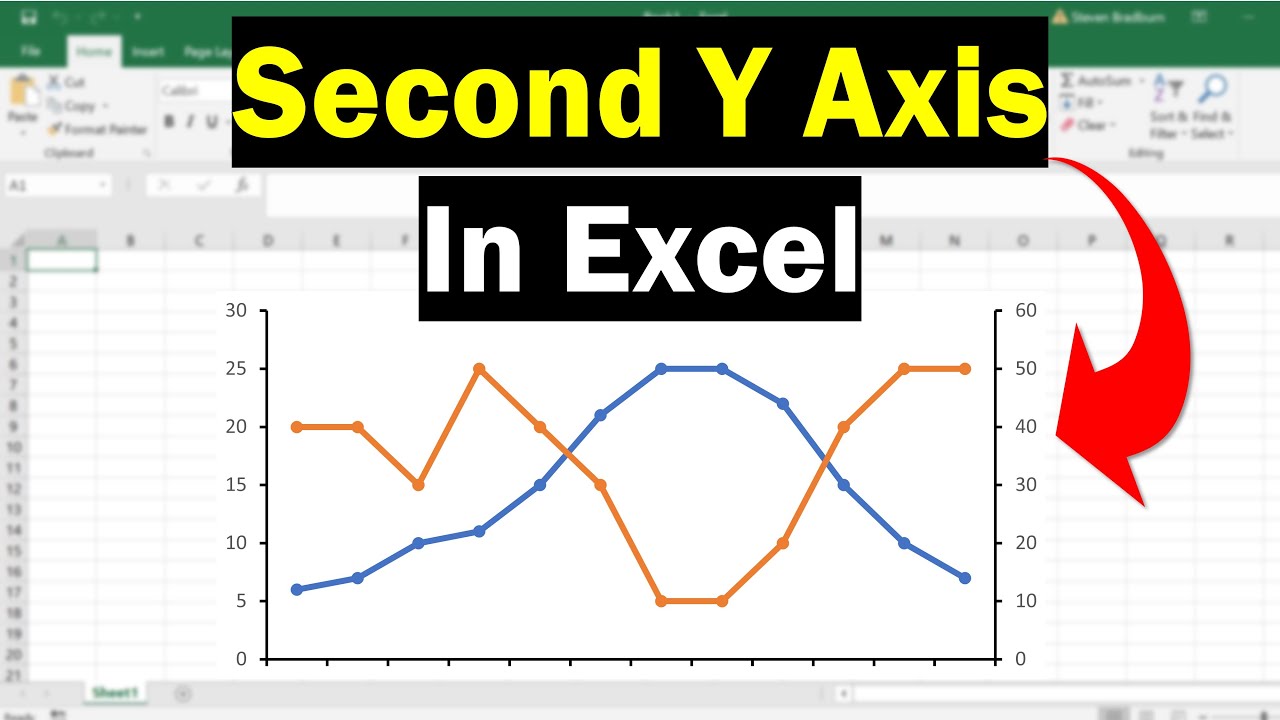
Adding a secondary y axis to an Excel chart only takes a few clicks. Here is a step-by-step guide on how to quickly add a second y axis to a chart in Excel.
When to Use a Secondary Y Axis
Before we get into the steps, it’s important to understand when a secondary y axis can be useful:
-
When comparing data sets with very different value ranges: As mentioned, a secondary y axis is helpful when your data sets have vastly different absolute values. Plotting them on the same scale would make trends very hard to interpret.
-
When combining line and column charts You can plot one data series as a column chart on the primary axis, while plotting another data series as a line chart on the secondary axis This lets you visualize two data series on one chart
-
When plotting a secondary data series for context: You may want to add a secondary data series like average, median, or goal values to provide context for interpreting the primary data series. The secondary axis lets you plot it without distorting scale.
In short, anytime you want to visualize two data sets with different value ranges or different chart types together, a secondary y axis is the way to go.
Step-by-Step Guide to Add a Secondary Y Axis
Without further ado, here is the step-by-step process to add a secondary y axis to a chart in Excel:
1. Select the chart and open the Chart Tools tab
- Click anywhere on the chart to select it. This will open the Chart Tools ribbon tab.
2. Go to the Design tab and change the chart type
-
On the Chart Tools tab, select the Design tab.
-
Click Change Chart Type on the left.
3. Select a combo chart type with secondary axis
-
In the Change Chart Type dialog, select Combo chart types.
-
Choose a combo chart that says secondary axis like Clustered Column – Line on Secondary Axis.
-
Click OK when done.
4. Assign data series to the secondary axis
-
For the data series you want plotted on the secondary axis, select the Chart Elements button next to the chart.
-
Click the data series under Series to bring up Format Data Series on the right.
-
Under Series Options, change Plot Series On to Secondary Axis.
-
Repeat for any other data series you want plotted on the secondary y axis.
5. Format the secondary axis title
-
To add a title to the secondary y axis, select the horizontal axis, then select +Axis Title below it.
-
Enter a title for the secondary axis. Format it differently from the primary axis title to distinguish them.
And that’s it! The secondary axis will now be visible on the chart, along with its distinct axis title. You can format the secondary axis scales, title, and gridlines separately from the primary axis.
Customizing Axis Settings
After adding the secondary axis, you may want to customize its settings like scale, title, and position:
-
Axis scale: Right click the secondary y axis and select Format Axis to change minimum/maximum values, units, and increment.
-
Axis title: Can be edited or formatted by selecting the axis title text box.
-
Axis position: Right click secondary axis and choose left or right positioning.
-
Gridlines: Can be turned on/off for primary and secondary axes independently.
Spend some time formatting to make both axes clearly readable and scaled appropriately for the data.
Plotting a Line Chart on the Secondary Axis
In addition to plotting a column or bar chart on the primary axis and another column/bar chart on the secondary axis, you can also mix and match chart types.
A common combo is to plot:
-
Column or bar chart on primary axis
-
Line chart on secondary axis
This allows you to visualize two data sets together—one as a column/bar chart, and another as a line chart on the secondary axis.
To do this, simply follow the steps above, but change the secondary data series chart type to Line rather than Column or Bar in step 4.
When Not to Use a Secondary Axis
While secondary axes can be useful, there are a few cases where they can do more harm than good:
-
If the two data sets do not have drastically different scales, plotting them on two separate axes can exaggerate differences and make trends harder to interpret. Stick to a single y axis.
-
Don’t use a secondary axis just for the sake of using one. Only use it when you need to visualize two data sets together but can’t plot them on the same scale.
-
Avoid plotting more than two data sets together on the same chart across multiple axes. This usually becomes too cluttered and complex.
Alternative: Overlay Line Chart on Second Axis
For some chart types like stacked column charts, you cannot add a secondary axis. But you can still visualize two data series by overlaying a line chart on a second axis.
To do this:
-
Select stacked column chart with primary data series.
-
Under Chart Design > Add Chart Element, select Line and choose the secondary data series.
-
Right click the overlaid line chart and select Format Data Series.
-
On Series Options, select Secondary Axis to plot the line chart on the secondary axis.
The line chart will overlay on the column chart and automatically plot against the secondary axis. This lets you visualize two data sets without a true combo chart.
Summary
Here are some key points to remember about secondary axes in Excel:
-
Useful when data sets have very different scales or when mixing chart types.
-
Convert to a combo chart and assign data series to secondary axis.
-
Customize axis scale, title, gridlines, and position as needed.
-
Don’t use a secondary axis just for the sake of using one. Only when necessary.
-
Overlay a line chart on a secondary axis for some chart types like stacked columns.
With this knowledge, you should feel comfortable adding secondary axes to your Excel charts to provide more flexible data visualization options. Just remember to use them judiciously in situations where they really enhance clarity and understanding!
TipsSubmit a TipAll tip submissions are carefully reviewed before being published
Written by:
1. Create a spreadsheet with the data you want to graph. 2. Select all the cells and labels you want to graph. 3. Click Insert. 4. Click the line graph and bar graph icon. 5. Double-click the line you want to graph on a secondary axis. 6, Click the icon that resembles a bar chart in the menu to the right. 7. Click the radio button next to “Secondary axixs.
StepsMethod
- Question I have the vertical columns for the first set of data, but how do I add the horizontal axis for the next set of data?
 Community Answer Right Click in the Chart area. Click the Add Button under the “Legend Entries (Series)” and enter correct cells that have the data you want graphed. Click Edit under “Horizontal (Category) Axis Label” and click okay.
Ask a Question 200 characters left Include your email address to get a message when this question is answered.
How To Add A Second Y Axis To Graphs In Excel
What are the benefits of adding a second y-axis in Excel?
Mixed data: Having a second y-axis allows you to chart mixed types of data, such as price and total units, on one chart. Efficiency: It’s often more efficient to add a second y-axis because it spares you from creating another chart that shares information with the first.
How do you add a second y-axis in Excel?
To add the second y-axis, click on the ‘Format’ option at the bottom of the Excel menu. Under the ‘Format’ tab, you can navigate to the area on ‘Current selection’ and click on ‘Chart area’ to display a drop-down menu. Select the ‘Series’ option that has details on the secondary axis row.
How do you add a second Y axis on a graph?
Use the “Series Options” icon to insert the secondary axis Once the “Format Data” menu appears, select the icon that looks like a bar graph. This reveals the submenu of series options, which is where you can find the option for a secondary y-axis. Click this option to transform your original chart to include a second y-axis.
How do you make a secondary axis in Excel?
Microsoft Excel gives you the option to add a secondary axis to your graphs. To add a secondary axis, you’ll need to edit the Series Options. To change the chart type of the secondary axis, you can right-click the graph and select the option. Create a spreadsheet with your data.
