The lasso tool is one of the most useful selection tools in Photoshop It allows you to quickly outline areas of an image with incredible precision
Whether you’re a total beginner or a seasoned pro mastering the intricacies of the lasso tool will help take your design work to the next level.
In this comprehensive guide, we’ll cover everything you need to know to become a lasso tool expert, including:
- How to make basic selections
- Using the different lasso tool types
- Lasso tool settings and modifiers
- Tips for making accurate selections
- Common uses cases and examples
So let’s dive in and unlock the full potential of this powerful Photoshop feature!
An Overview of the Lasso Tool
The lasso tool lets you draw freehand selections around areas of your image. This allows you to isolate portions of the image to edit or manipulate.
To use the lasso tool:
-
Select it: Click the lasso icon in the toolbar or press “L” to choose it.
-
Outline selection: Click and drag your mouse around the area you want to select.
-
Finalize selection: Release the mouse to complete the selection outline.
Once an area is selected with the lasso tool, you can copy, cut, delete, edit, or apply changes only to the selection while protecting the rest of the image.
The lasso has a few different sub-tools that allow you to make selections in different ways:
- Lasso: Draw freehand selections
- Polygonal Lasso: Draw straight-edged selections
- Magnetic Lasso: Automatically snap to edges while drawing
- Quick Selection: Brush to auto-generate selections
Now let’s take a closer look at using each lasso type.
Using the Basic Lasso Tool
The standard lasso tool lets you manually outline any shape while drawing freehand. This takes practice to control accurately but provides the most flexibility.
To use the basic lasso tool:
-
Choose it: Click the lasso icon in the toolbar.
-
Start selection: Click and drag your mouse on the image to outline the area you want to select.
-
Close selection: Release the mouse when your selection outline connects back to the starting point.
-
Refine selection: Click inside your selection and continue drawing to add or subtract from the outlined area.
-
Start new selection: Click outside the current selection and drag to start a new selection line.
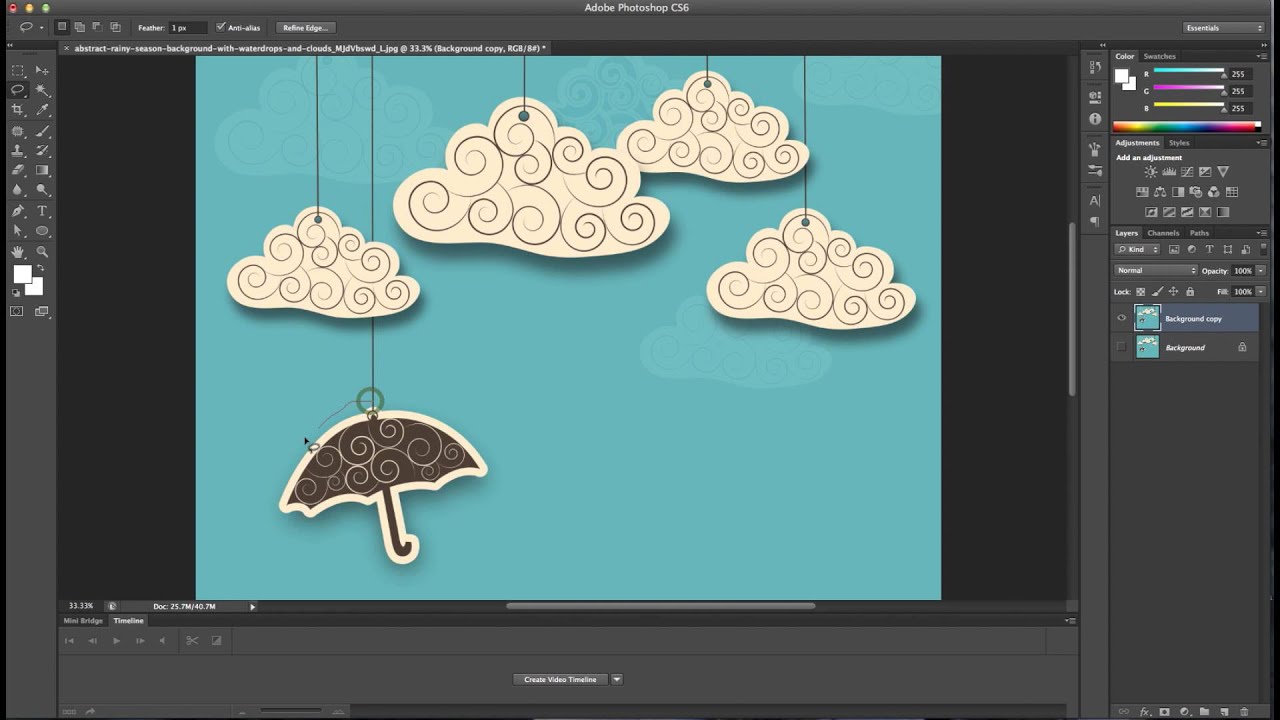
The basic lasso is ideal for making irregular selections around subjects like people, trees, or clouds in your image.
Using the Polygonal Lasso Tool
The polygonal lasso tool lets you draw straight-edged selections by clicking to plant anchor points around your desired area.
To use the polygonal lasso:
-
Choose it: Click and hold the main lasso icon to open the menu and select the polygonal option.
-
Set first anchor: Click on your image where you want to place the first corner anchor point of your selection.
-
Add anchors: Keep clicking to set additional corner anchor points around the selection area.
-
Complete selection: Click the starting anchor point or press Enter to close the selection with a straight line.
-
Refine selection: Add more corner anchors or drag existing ones to adjust the selection shape.
The polygonal lasso is great for making selections around man-made objects with straight edges in your images.
Using the Magnetic Lasso Tool
The magnetic lasso will automatically detect and snap to the edges of elements in your image as you roughly draw around your intended selection area. This makes it easy to quickly select subjects with well-defined edges.
To use the magnetic lasso:
-
Choose it: Click and hold the lasso icon to open the menu and select the magnetic option.
-
Set starting point: Click on an edge to plant the first anchor point for your selection.
-
Draw selection: Slowly drag along the edges of your subject and the selection line will snap into place around it.
-
Close selection: Release the mouse when the selection connects back to the starting anchor.
-
Adjust selection: Click and drag existing anchor points or add new ones as needed.
The magnetic lasso works great for subjects with strong contrasting edges like a product on a white background.
Using the Quick Selection Tool
The quick selection tool lets you “paint” selections by dragging over an area. It utilizes color and texture analysis to automatically expand the selection to similar areas.
To use the quick selection tool:
-
Choose it: Click and hold the lasso icon in the toolbar to open the menu and select the quick selection option.
-
Set brush size: Adjust the diameter in the tool options bar.
-
Paint selection: Click and drag over the area you want to select and it will automatically expand.
-
Refine selection: Add to or subtract from the selection by holding Shift or Alt while brushing.
-
Finalize selection: Press Enter when you’re happy with the selected region.
The quick selection tool is extremely useful for making accurate selections in complex backgrounds or around subjects with soft edges quickly.
Modifying Lasso Tool Options
In the tool options bar, you can adjust settings to change the lasso’s selection behavior and customize it for different use cases.
New Selection vs Add/Subtract From Selection
The default behavior lets you create a new selection each time. Toggle “New Selection” off to instead add or subtract from existing selections.
Feather Radius
Increase the feather value to soften selection edges. Higher values create more gradual transitions.
Anti-aliasing
Anti-aliasing smooths the edges of selections to minimize jagged artifacts. Keep this enabled for best results in most cases.
Auto-Enhance
When enabled, Photoshop will automatically improve selections by analyzing boundaries. This improves accuracy, especially for complex selections.
Tips for Making Precise Selections
Mastering the lasso tools takes time and practice. Here are some tips to help you make accurate selections:
-
Take your time and use a steady hand to outline selections smoothly.
-
Use straight section lines with the polygonal lasso when possible.
-
Adjust the feather radius to help smooth jagged selections.
-
Use anti-aliasing to minimize staircase artifacts on selection edges.
-
Enable auto-enhance to improve selection accuracy automatically.
-
Switch between lasso types to utilize the ideal one for each selection.
-
Toggle the “Add to selection” option on to gradually build complex selections.
-
Use the zoom tool to view small details when making tricky selections.
Common Uses for the Lasso Tool
Now that you’re a lasso expert, here are some of the most common examples of using these selection tools in your workflow:
-
Quickly isolate subjects or objects from backgrounds.
-
Apply localized adjustments to specific image regions.
-
Manipulate just a portion of the image while protecting the rest.
-
Cut out products or objects to paste on new backgrounds.
-
Combine lasso selections with layer masks for advanced techniques.
-
Create montages by blending together multiple selections.
-
Make challenging selections based on color range or lack of defined edges.
-
Outline text or shapes to intricately cut them out from images or backdrops.
-
Generate selection-based cutouts for compositing 3D renders.
-
Create custom thumbnail crops by selecting image portions.
As you can see, mastering the lasso opens up endless editing possibilities! With this complete guide, you now have in-depth knowledge of how to wield the full power of these selection tools in Photoshop.
How To Use The Lasso Tool To Cut Out Images In Photoshop
How do I make a selection with the lasso tool?
To make a selection with the Lasso Tool, open it from the toolbar on the left side of your screen. Note that the icon looks similar to a cowboy’s lasso rope. We’ll work with the freehand version for now. With the tool active, simply click on your image and begin dragging your mouse to make a selection.
How do I make a lasso in Photoshop?
(Optional) Click Select and Mask to further adjust the selection boundary. In Adobe Photoshop, use the Lasso tool, Polygonal Lasso tool, and the Magnetic lasso tool to easily make selections. Also learn how to set options for each to further refine your selections.
How do I use the magnetic lasso tool in Photoshop?
Follow the steps below to create a selection using the Magnetic Lasso Tool. Open your image in Photoshop. Navigate to the Top Menu bar and select File > New. From your computer locate the image you wish to edit. Head to the Toolbar to the left of your canvas window and select the Lasso Tool of your choice, or to use the Keyboard shortcut Press L.
What is a magnetic lasso tool?
The Magnetic Lasso Tool is a bit more automated than the other options. As long as you’re going along a well-defined edge in your photo, this tool will automatically snap the Lasso Path to the edge. Best of all, this even works along complicated or uneven edges.
