Headings are an essential formatting element in Google Docs. They break up your document into organized sections and make it more readable. Headings also generate the document outline, allowing you to quickly navigate and jump between parts.
In this step-by-step guide you’ll learn how to add edit, and customize headings of all levels in Google Docs on both desktop and mobile.
Why Use Headings in Google Docs?
Headings serve multiple valuable purposes
-
Visually Organize Content – Headings visually separate topics and make text less dense.
-
Improve Readability – Bold larger text catches the eye and highlights important information
-
Generate Outline – Headings auto-generate the doc outline for quick navigation.
-
Adjust Structure – Easily reorganize sections by moving headings around.
-
Format Consistency – Applying uniform heading styles keeps documents consistent.
-
Meet Accessibility Standards – Headings allow screen readers to navigate documents.
Basically, headings lump related paragraphs together into labeled sections. This makes long docs much easier to parse and digest for readers.
Heading Levels in Google Docs
There are six heading levels to represent document hierarchy:
| Heading Level | Use Case |
|---|---|
| Heading 1 | Main document titles and section headings |
| Heading 2 | Major subsections under section headings |
| Heading 3 | Subsections under Heading 2 topics |
| Heading 4 | Lowest subheading for details |
| Heading 5-6 | Very niche uses like appendix |
Lower heading numbers should be used for titles of decreasing importance in the document structure.
How to Add Headings on Desktop
Adding headings to your Google Doc on desktop only takes a few clicks:
-
Select the text you want to make a heading.
-
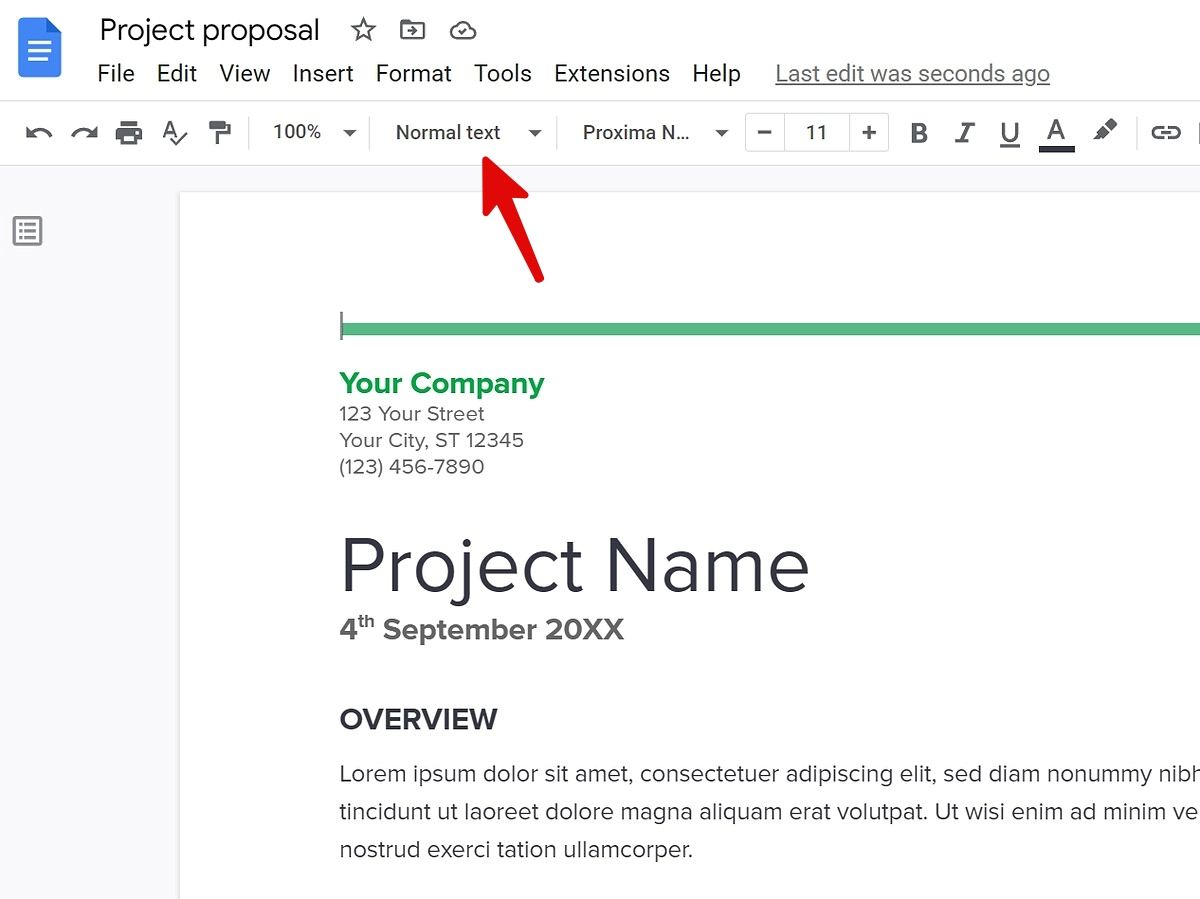
Click Format in the toolbar and select Paragraph styles.
-
Choose the desired heading level from the list.
-
The text will update to reflect the heading format.
Optionally, you can also select text and use the following keyboard shortcuts to quickly apply headings:
- Ctrl + Alt + 1 for Heading 1
- Ctrl + Alt + 2 for Heading 2
- Ctrl + Alt + 3 for Heading 3
And so on up through Heading 6.
Creating Headings on Mobile
If you’re editing a Google Doc on your phone or tablet, here’s how to add headings:
-
Tap to place cursor where you want the heading.
-
Select the text.
-
Tap the formatting toolbar.
-
Choose Headings.
-
Tap the desired heading level.
The text will now display with the heading style applied.
Customizing Headings in Google Docs
You can customize the appearance of headings in Google Docs to suit your preferences:
-
Change font & size – Modify font, weight, style, color, and text size.
-
Adjust alignment – Align headings left, center, or right.
-
Add spacing – Increase spacing before or after with line breaks.
-
Create numbered headings – Start numbering for structured outlines.
-
Update colors – Change color and highlighting of headings.
-
Copy formatting – Use the paint format tool to copy a heading’s formatting.
-
Make styles default – Save custom heading styles to use for all new documents.
Spend some time refining heading styles that work for your personal or brand style guide.
Adding Numbered Headings
For documents like outlines, procedures, and lists, you may want auto-numbered headings:
-
Place cursor where you want a numbered heading.
-
Click Format > Paragraph styles > Numbered heading 1.
-
Change the heading level as needed.
The heading will become the next number in sequence. Use nested numbered headings, like “1.1” and “1.2” for a structured outline.
Remove or Delete Headings
Deleting a heading in Google Docs is just as easy as adding one:
-
Select the heading text and tap the “Normal text” paragraph style from the toolbar. This will remove all heading formatting.
-
An alternative is to rehighlight the text after removing the heading style and apply any desired formatting like font changes.
-
Right-click the heading in the document outline and choose “Delete heading” to just remove from the outline without deleting text.
-
To entirely delete a heading, backspace to delete the text as you would any normal text.
And that covers everything you need to know to master headings in Google Docs! Use them in your next long document to make the content more organized and navigable.
How to: Create a Heading in Google Docs
How to add headings in Google Docs to a document?
There are two ways to add headings in google docs to a document in google docs. Both of them are really simple and doesn’t take time. To add a heading to your document, follow these steps: The first step is simple, select the text that you want to turn into a heading
How do I add a header & footer in Google Docs?
First, fire up your browser and go to your Google Docs homepage. Open a new document or the existing one to which you want to add a header or footer. Next, click Insert > Header & Page Number, and then click either “Header” or “Footer” to insert it into your document. You can also use keyboard shortcuts to add headers and footers.
How do I add a document outline in Google Docs?
Select the text in the document, right-click, and pick “Add to Document Outline” in the menu. The Document Outline in Google Docs isn’t just for show—it’s interactive. If you click a title or heading, you’ll be taken directly to that spot in your document.
